 Eryn Pinksen
Ever felt nervous about makeup and intimidated by everything that’s out there? Have no fear because makeup really isn’t as scary as many people think! There are no rules in makeup, which means that you can really do whatever you want. It’s all about experimenting with trial and error. To help with your experimentation this will be a step-by-step outline of how to create a look with cream contour with the help of make up artist Cristiana Pop. Cream contour is about highlighting high points now of your face to bring our certain features and darkening some areas to cause them to recede. Feel free to adapt your contour based on what you’d like to bring out of your face shape!
What you will need
- A Contour Kit
- Makeup Sponge
- Flat Concealer Brush
- Dense Concealer Brush
- Precision Foundation Brush
- Translucent Powder
- Blush
- Shimmer Highlight Powder
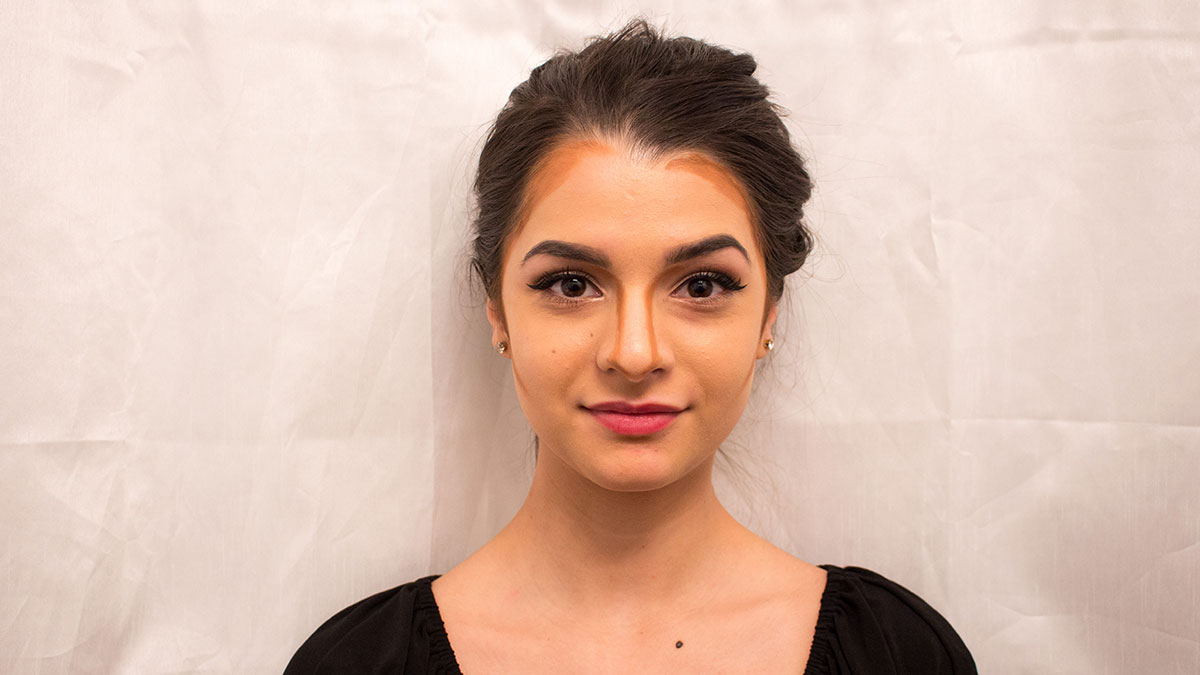
Step 1. Start and Color Choice
Start with a base. Make sure to moisturize thoroughly and apply your favourite primer. Then, apply a thin layer of foundation and your concealer if you wish. Use a sponge to even out your foundation and get rid of any excess product. Using a contour kit is the easiest way to go because the colors have been specially chosen for contour and are made to do the job.
For the contour itself we will be using three brushes—as well as a few powder brushes later for finishing touches—the first brush will be a flat concealer brush, the second will be a dense concealer brush, and the third is a precision foundation brush that has a point on the end. We have chosen to use brushes for application and blending but you can also use a sponge to blend out the contouring.
Step 2. Contour and Blend
Using the flat concealer brush apply your contour shade to the hairline and above your temples. Then add the contour color along the sides of your nose and jawline.
Then, twist your mouth to the opposite side of where you are applying the contour; this will help to find where you should be placing the contour on the hollows of your cheeks.

With a dense concealer brush that isn’t too fluffy, blend your contour in small circular motions for the hairline and jawline. For your nose, pat and blend downwards away from the bridge. Then finally for the hollows of your cheeks continue with the small circular motions but ensure that your strokes are blending upwards.
Step 3. Highlight and Blend
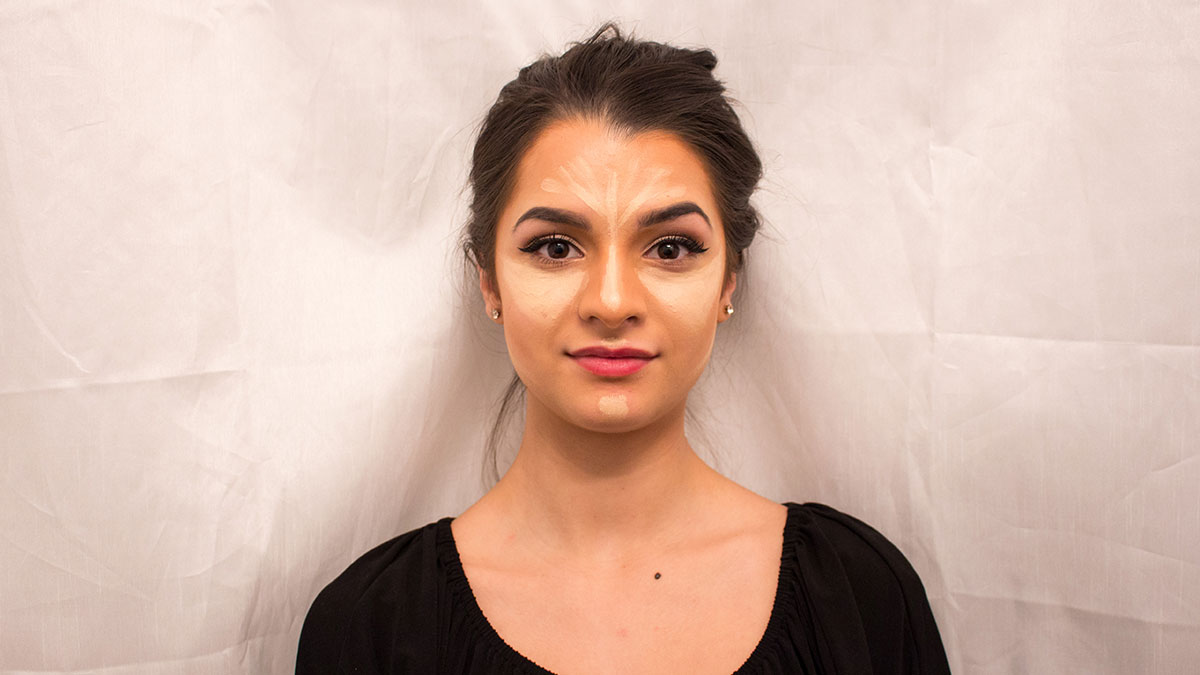
Whatever you highlight will be emphasized and anything you contour will retreat. Depending on what face shape you are looking for will influence how much you decide to highlight.
Place the highlight on the high points of your cheeks, under your eyes, right underneath the contour on the hollows of your cheeks, the bridge of your nose all the way up to the center of your forehead, your cupid’s bow, and the center of your chin.
Under your eye, make an upside down triangle with the base starting from the side of the nose and extending towards your temples, coming to a point in line with the end of your nose. To blend the highlight, use small circular motions with that dense brush.
Step 4. Set with Translucent Powder
This step is usually last in a makeup routine but cream contour must have its own setting step. There are so many out there and no option is bad for setting powder. This product is also good to have in your make up drawer for every day makeup looks.
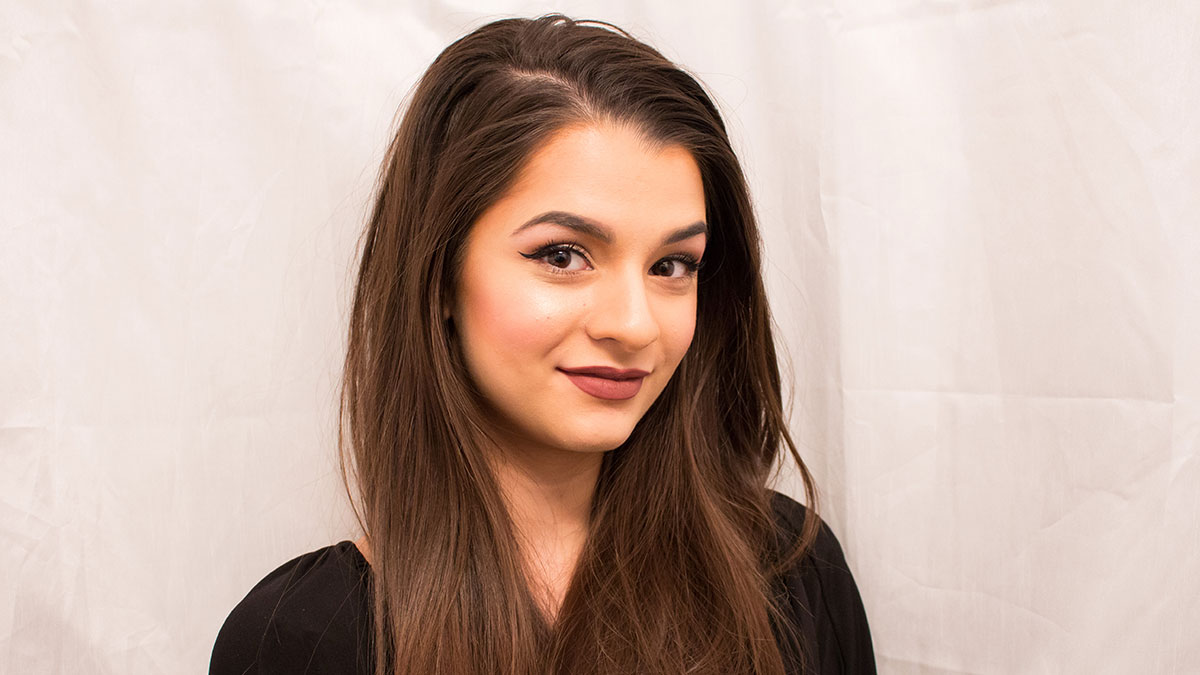
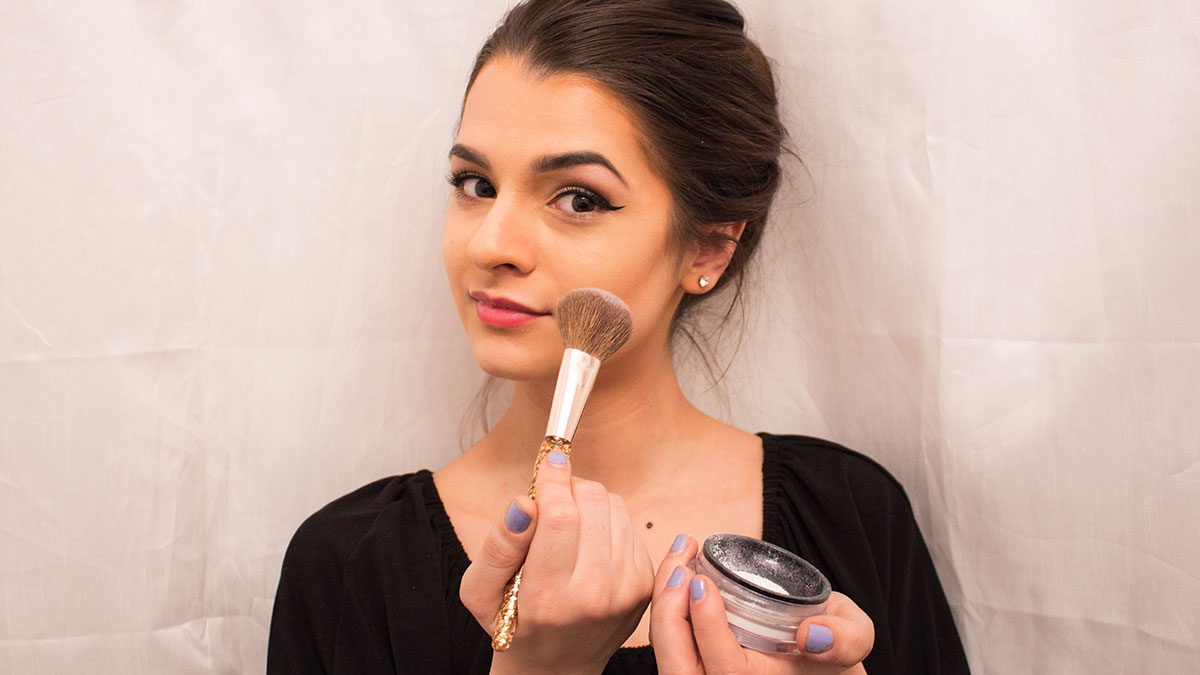
Step 5. Blush and Highlight
Grab your favorite blush and apply softly above the contour line. Give yourself some color without overpowering the contour. An optional step that gives the face the final touch is a shimmery highlight powder. Using a fan brush or a small fluffy brush apply this on the highest part of your cheekbones back towards the temples. Voila! Your contour is now on point and your cheekbones are to die for.