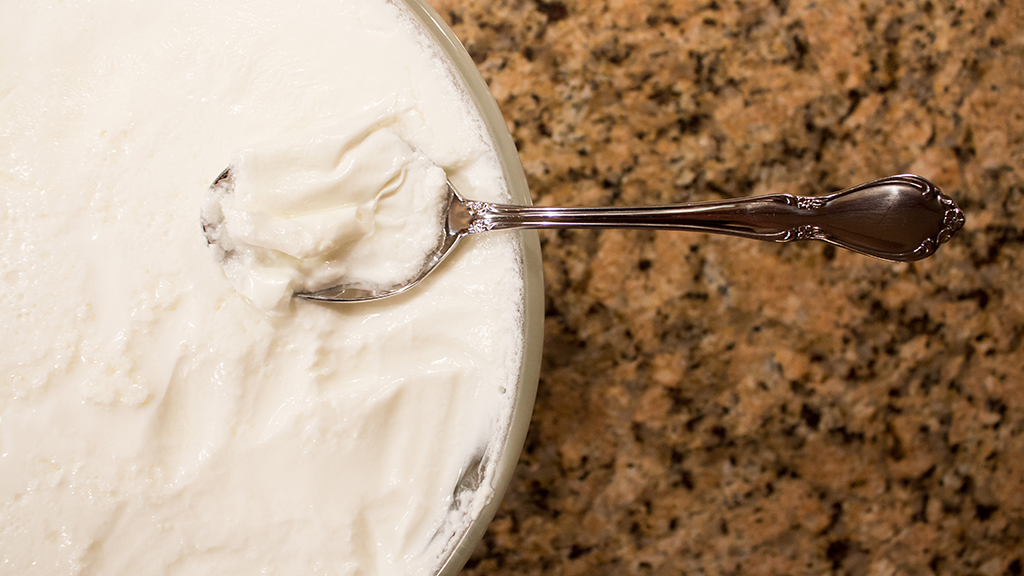
Doin’ You: Greek Goddess Yogurt
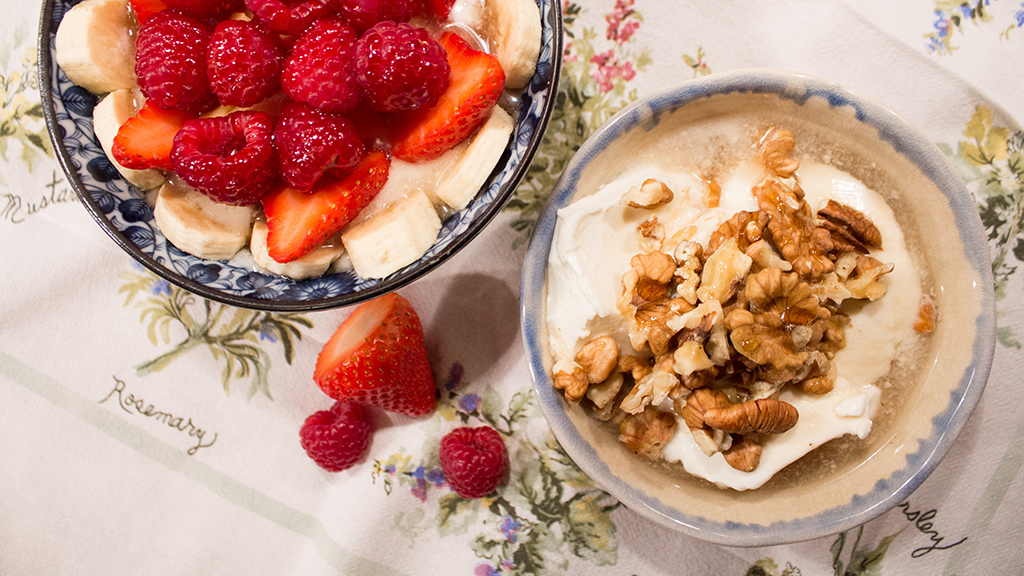 Christina Varvis
My friends and probably random people in Edmonton have all heard me say at least once, that if one wants really good, legit Greek food, you got to fling that shitty Tim Horton’s Greek yogurt out the window and either travel to Greece or come over to my house. Fortunately, with this Doin’ You, you can avoid both those options and instead learn how to make your own Greek yogurt at home.
Prepare yourself, it’s a long process and it involves a lot of waiting, but in the end, you’re left with delicious yogurt, improved inner confidence, and a new skill to add to your resume and/or online dating profile. You’re welcome, and thanks, mom!
What you’ll need:
- 2 litres of 3.25% homogenized milk; I like to use Dairyland, but feel free to use your own favorite, just as long as it has 3.25% milkfat.
- 1 small container of plain yogurt (175 grams will do the trick); I like to use Western Family’s Plain Yogurt.
- 1 large pot
- 1 large bowl
- 1 wooden spoon
- 1 tablespoon
- 1 mug
- 2 large towels and/or a blanket
- Greek music for some atmosphere. Tweet at me for suggestions, ‘cause I got you covered.
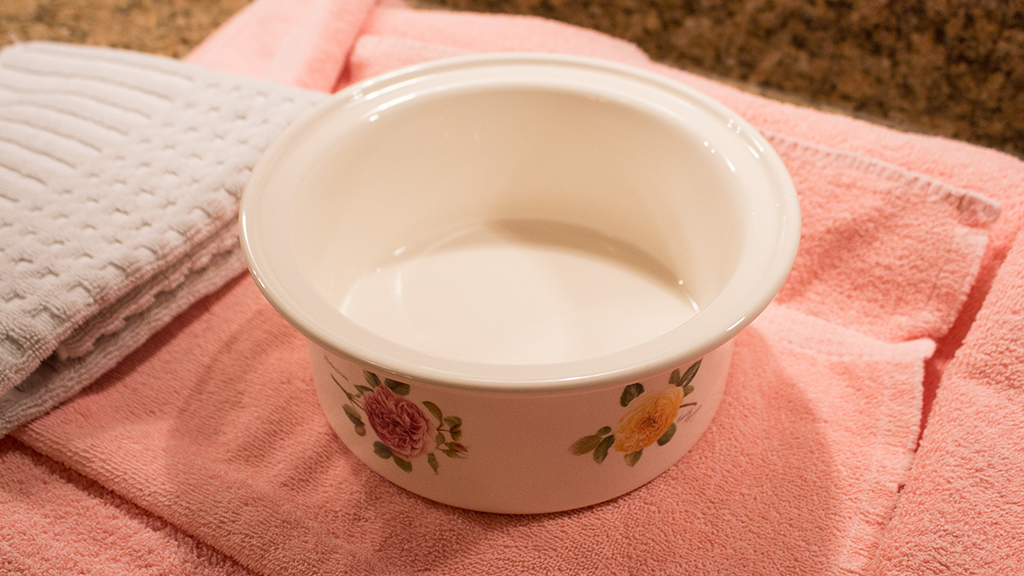
Step 1: In advance, lay out the towels and/or blanket flat on your kitchen counter and in a spot where they won’t have to be moved. Then, place the large bowl on top of them.
Step 2: Rinse your pot with cold water, fill it with the 2 litres of milk, and then place it onto the stove. Make sure that there is enough space at the top of the pot for the milk to rise as it heats up.
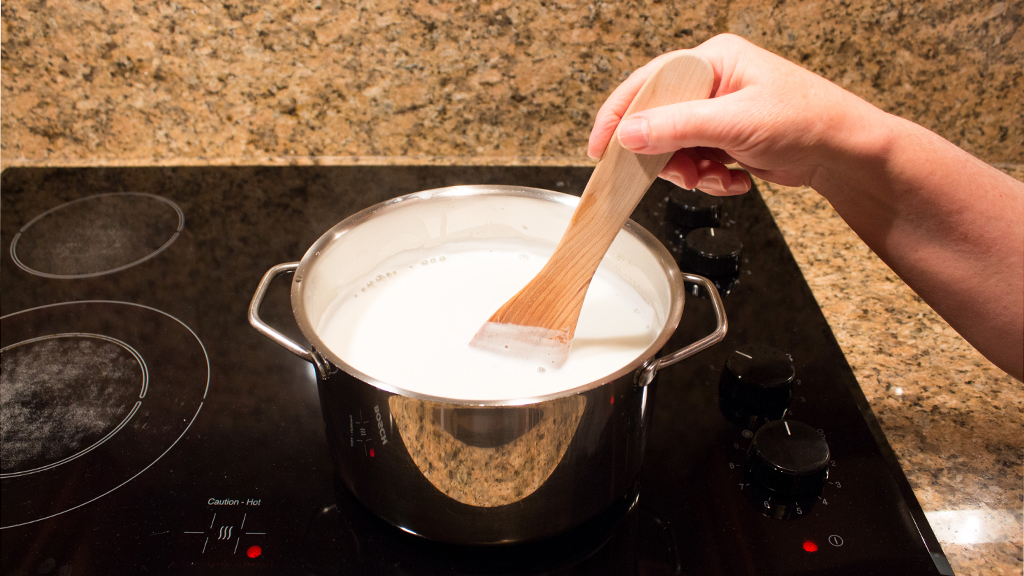
Step 3: Set your stove to high heat and wait for the milk to come to almost a boil. Now, as you wait, don’t get distracted by all that funky Greek music in the background and don’t start smashing any plates either. Make sure that your eyes are on the milk and that you’re constantly stirring it by sliding the spoon back and forth against the bottom of the pot. Otherwise, as the milk gets warmer, it will start sticking to the bottom of your pot and then you’ll be scrubbing the rest of your Friday night away.
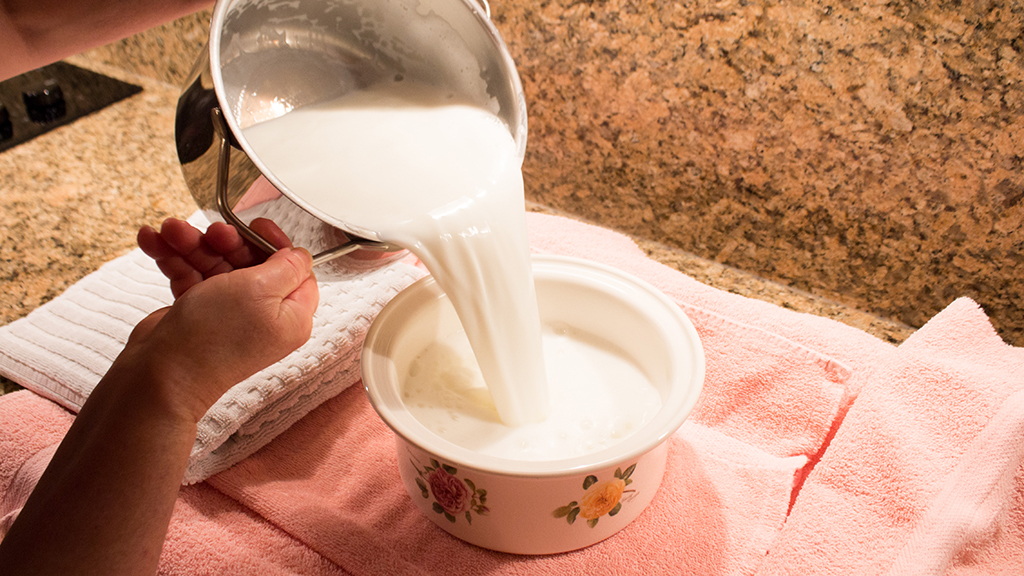
Step 4: After much waiting and stirring, the milk will eventually start forming lots of bubbles along the edges. As soon as it begins rising, remove it immediately from the heat and carefully empty it straight into the bowl that you have placed on the towels. Leave it to cool off slightly for about 30 to 40 minutes and in the meantime, go gaze and sigh at some photos of Santorini on Instagram. Don’t stir the milk whatsoever at this time and it should still be quite warm to the touch before proceeding to the next step.
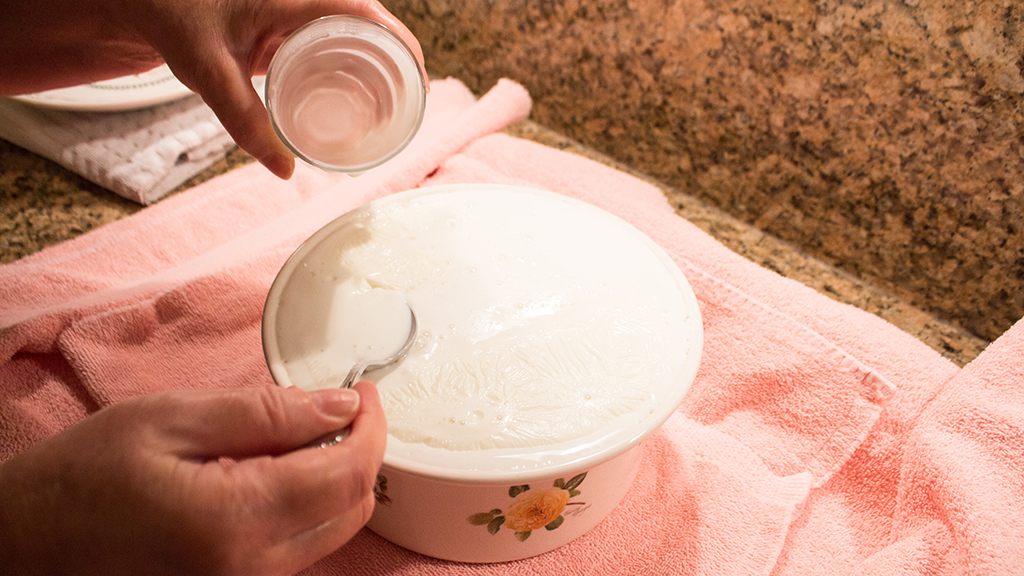
Step 5: At this point, you should be able to see a layer forming across the top of the milk. This layer is crucial, so don’t remove it. Now, prepare yourself for some science. From the edge of the bowl, remove 2 to 3 tablespoons of the warm milk and put it into a mug. To this, add the plain yogurt and mix it all together. (The plain yogurt serves as your yogurt culture.) Slowly add this mixture into the milk from that same edge as before, using the tablespoon. Give the milk a quick stir, just from that edge again, to distribute the culture and voila! Science!
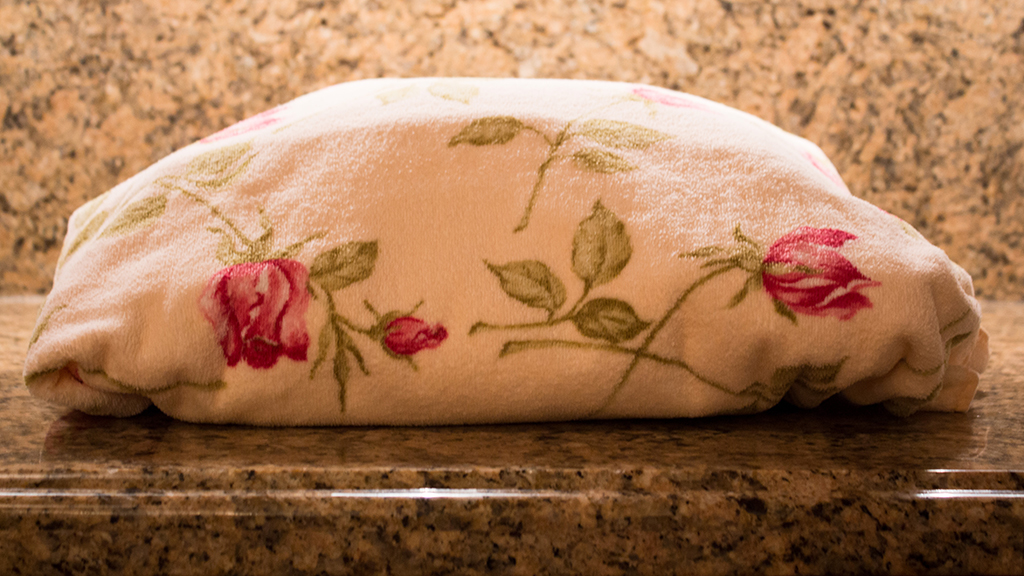
Step 6: To help the yogurt culture grow, the milk has to be kept warm and still, hence the towels. Cover the bowl with either the lid of a pot or a large plate, and wrap it up like a baby in the towels or the blanket, (without moving the bowl) and let it sit for at least 6 hours or overnight. The next day, unwrap it, let it sit for about 2 hours more on the counter and then transfer it to the refrigerator where it can officially begin to chill. Keep it in the refrigerator for at least 24 hours before moving onto the final steps. (I’m serious — it’s almost done!)
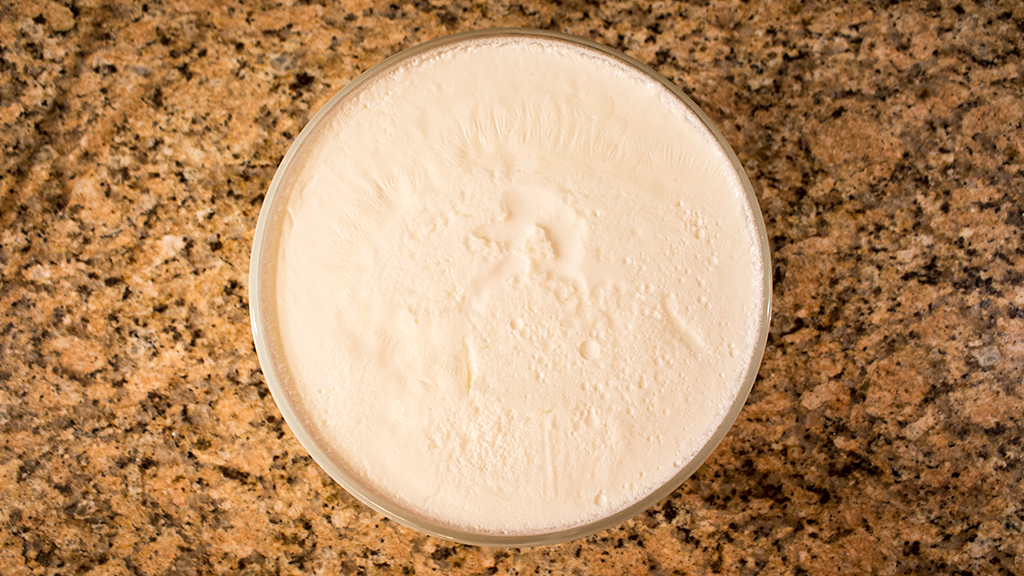
Step 7: Greek yogurt is identified by its thick consistency and for yours to achieve that, you can either strain it and remove the whey all at once or you can strain it day-by-day before you go to eat it. I personally do the latter, but in order to attain the thickness right off the bat, I would recommend straining it all at once. Before straining, make sure to remove that now-thick layer that has formed across the milk and then transfer the yogurt into a sieve lined with cheesecloth and wait for all the whey to drip out. In my case, I just remove a bit of the layer each time, spoon out the whey and then eat the yogurt right away.
