
 Joshua Storie
You might not imagine that a simple strip of fabric around one’s neck has the ability to swing an election, but that’s narrow-minded thinking, my friends.
A well-executed tie is more than a fashion statement, it’s a sign that a candidate is committed to the details, it proves they care about the small things just as much as the big, and projects to voters that they can be trusted to properly cross T’s and dot I’s on their behalf.
A strong tie game may go unnoticed, but a weak one can be an Achilles heel if not properly put in check. After all, first impressions are everything, and certainly the way we dress says a lot. So with that, candidates, I urge you to consider these five tips to avoid getting tied up when trying to achieve all of your campaign goals this election season.
5. Tie equality for all
The first thing I’d like to address is that there are no barriers to wearing a tie — certainly not gender specific (or species specific) ones.
Whether on the SUB Stage, in formal campaign meetings, or partying the night away on election night, the option for neck wear is always wide open. Ladies, when you need to be locked down and professional, forgo the traditional and opt to rock a tie of your own. When you want to let loose, but still maintain a classiness that’ll get you into Casino Royale, don’t shy away from a bow tie — a self-tie one, of course.
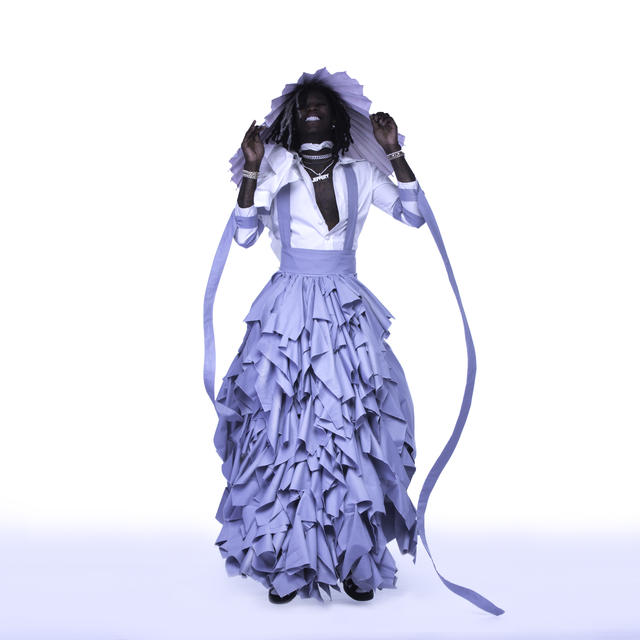
Confidence, not permission, is key to pulling off a look. So, take a cue from the master of saying “FU” to style conformity, or refer the sharply dressed, tie-rocking Ruby Rose from her recent role in John Wick 2 to see just how irrelevant one’s gender is to pulling off the look of your choice this election season.
4. To tie or not to tie? That is the question
Around elections one of the most important questions to ask yourself before tying up is whether or not it’s actually appropriate in the first place.
Before even opening your mouth to address potential voters, your clothing has already introduced you loud and clear. And inherently, a tie can be a blessing or a curse in this sense. Wearing one in the wrong context can instantly give off a whiff of “business student en route to a case competition,” which, when used correctly, might be the exact message that needs to be sent, but also might not fly when trying to convince a group of Lister kids in Bass Pro hats that you’re the best person to represent them. The lack of one can say just as much, with your open collar, plumes of chest hair, and gold chain suggesting a bit too much Tom Cruise from Tropic Thunder (you remember that movie right?) and not enough sexy, suave, and easy going.
The moral of the story? Don’t allow your outfit to alienate your audience. Few things tell someone “I’m not like you” like wearing a tie when everyone else is in a hoodie and t-shirt. Know what the dress code is for events, consider who will be attending, and what the level of professionalism is required. Once you’ve done your homework, add or subtract a tie accordingly.
3. Which width goes with which?
With that, we’re into the more technical stuff. Choosing the width of your tie is a pretty simple concept and it all has to do with people’s natural preference for visual consistency.
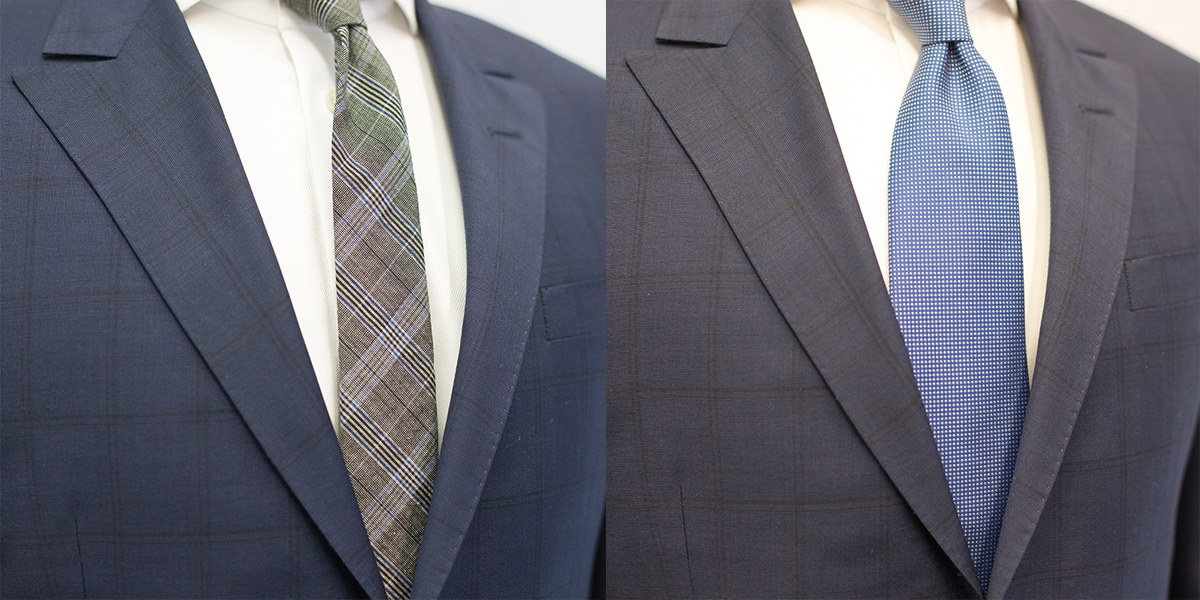
But before we start measuring, let’s review some definitions. The lapel on a suit jacket is the folded piece of fabric below the collar, which appears on either side of the jacket’s opening and runs down the upper portion of the coat. Different suits and blazers boast different styles of lapel, some are peaked (as in the photo above, rising to a point) and some are notched (shorter and cuts at a near 90 degree angle, like this). Lapels also come in different widths. If you visit the suiting department of most major retailers these days, like Simons or Hugo Boss, you will see the majority of the lapels are slim, slim, slim. But they don’t have to be. And this is where the issues arise when choosing the size of your tie.
Simply put, try to match the width of your tie to the width of your lapel. Fat lapel equals fat tie. Skinny lapel equals skinny tie. Easy right? Mixing and matching widths of lapel and tie is generally unattractive to the eye, something just looks off when you have two slim pieces of fabric bordering a gigantic slab of tie in between.
Avoid this problem by knowing what’s in your closet and choosing the right width (when dressing or purchasing) to suit it. It also helps to have a variety of sizes to choose from for different outfits (The Tie Bar always offers numerous width alternatives). If you’re opting for the no jacket look, consider how the tie will match the size of your body. If you’re a slimmer frame, go for a slimmer tie and if you have more meat on your bones, a larger tie will be proportional, and therefore pleasing to the average voter’s eye.
2. Long story short, length does matter
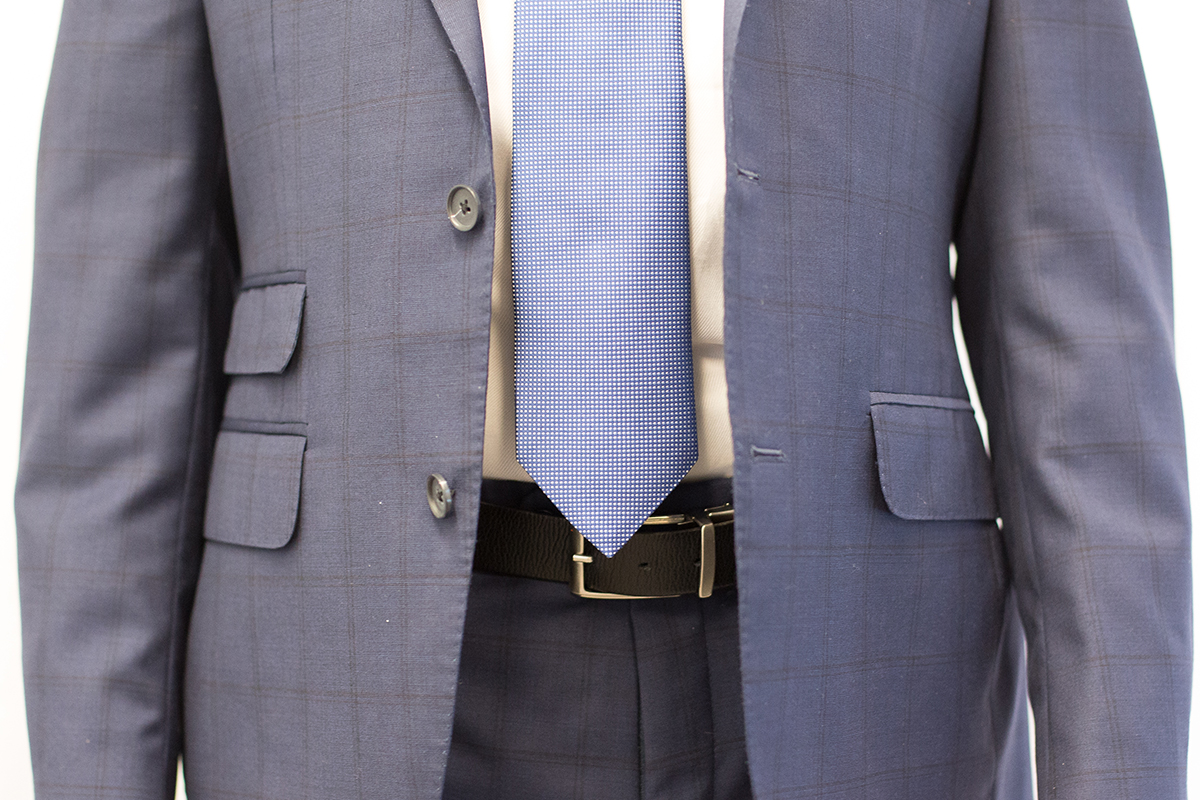
Avoid becoming the Donald Trump of this SU election by tying your tie to the right length; the point of your tie should hit right at the belt or waistline.
Once again, it all comes down to simple science. Just as the eye quickly picks up on something funky when a slim tie sits next to a wide lapel (and vice versa), it also notices if your length proportions are out of whack. A mis-tied tie can set off a mental alarm bell simply because of how long or short it is compared to what your eye thinks is appropriate for a body. Too long, and you’re The Donald, a fashion neanderthal dragging your tie on the ground like a great wooden club. Too short and you’re Bozo the Clown, with your gut dangling out from below the wimpy bit of cloth dangling by your nipples.
If you want to look like your torso has been stretched like a Gumby doll, or crumpled a couple of inches thanks to a hit on the noggin’ by one of those giant carnival mallets, by all means avoid this tip and tie your tie too long or too short. If you want to look proportional, composed, and comfortable, stick to the formula and the belt-line.
1. Master the art of “The Dimple”
Ahh nothing is quite as satisfying as a well-dimpled tie. Unfortunately, outside of red carpet appearances and Daniel Craig Bond films, you don’t get to see them all that often (SAD!).
The dimple is so much more than just a cherry on top, it’s the finishing touch of your whole outfit, and one that can make or break your look. The devil is in the details as they say, and no matter how freshly dry cleaned, pressed, colour coordinated, or GQ-worthy your look is, a flat, boring, shapeless, and flaccid tie-job kills the whole vibe.
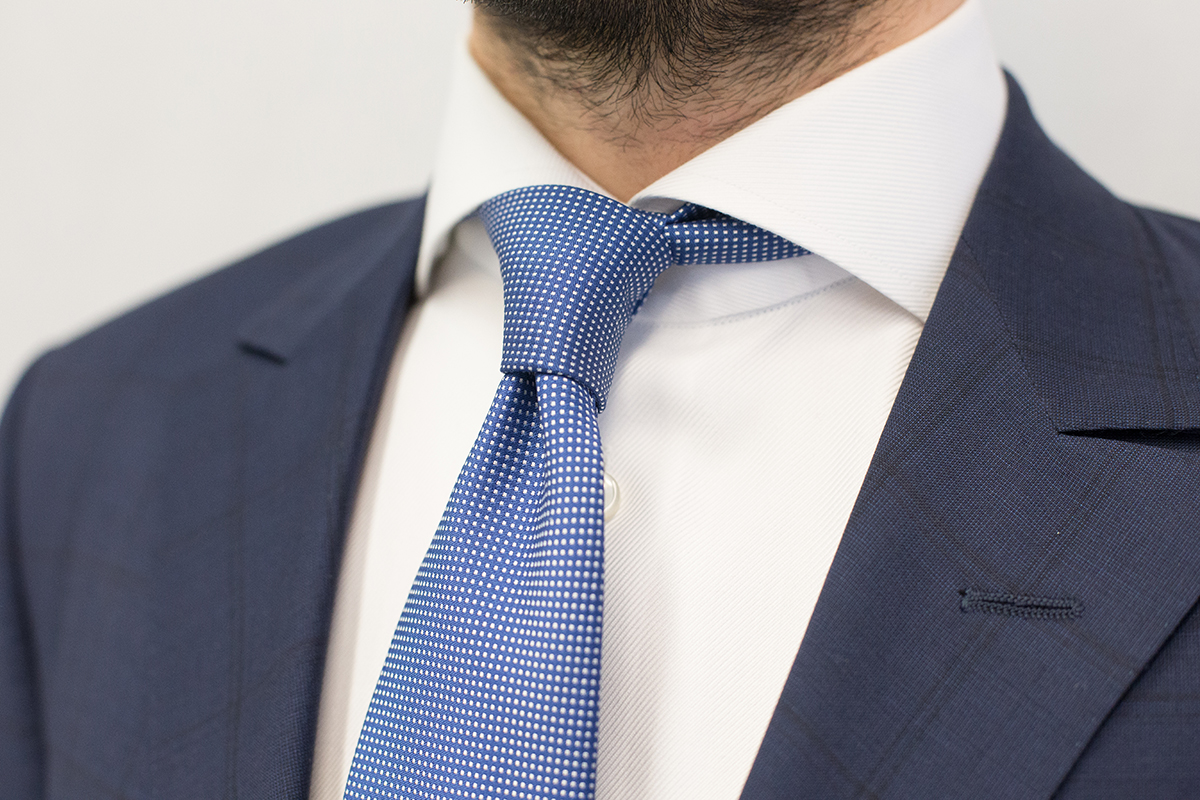
A dimple gives shape, texture, and contour to the little knot around your neck — all of which people notice and like, I mean, ever wonder why the Kardashians learned to contour their faces so expertly? But achieving the dimple does take practice. While in the final stages of the tying process, as you prepare to pull the long strip of fabric down through the hole and into place, you want to pinch the tie inwards with a finger (I use my index) to dent the fabric down the centre, while your middle finger and thumb fold the sides up. This will indent the fabric, which as you pull the tie through the hole will catch and remain folded inwards, creating the dimple effect.
My pro tips: First, ensure the knot is tied tightly and firmly, locking in the dimple with a snug pull (or two or three). You might need to adjust the knot as you do this to keep it’s shape, but that’s okay. As well, be aware of the fabric of your tie, as some are super slippery causing the dimple can easy slide away with any sudden (or subtle) movements. This is unfortunate, but in some cases unavoidable. And lastly, feel free to use this technique with any of your favourite knots. I’m using a single windsor in the photos above, but it looks excellent with a double, and can even be used to finish off a four-in-hand knot.


