Gateway to Gastronomy: Red bean buns
 Peter Elima
Welcome to another instalment of Gateway to Gastronomy! In this recurring segment, our writers share easy, cheap, and student-friendly recipes. Keep reading to find out how to make red bean buns! To read our first ever instalment, click here.
Red bean popsicles, red bean mooncakes, red bean mochi: these are just some of the wonderful desserts and pastries that can be made with red beans. The dòu shā bāo, or red bean bun, is something that reminds me of home. Its nutty, sweet, and pillowy taste unlocks the same hippocampal signals as memories of my grandmother making dinner or knitting scarves while the TV softly hums in the background.
Although red bean buns feel like a blanket of nostalgia to me, it might be something completely new to you! It can be challenging at first to figure out the right ratio of ingredients, or how to fold the pastry. Once you master it though, the end result is always delicious. Without further ado, here’s the recipe!
*** Disclaimer: this recipe has been modified so that it’s easier to follow. My mom and grandma literally cook by throwing in “a bowl here, half a glass there, maybe two pinches of salt” and stop whenever they feel like the recipe is right.
Ingredients:
600 grams of all purpose flour (my mother says “just use three bowls.”)
1.5 cups of warm milk (or, as my mother describes it, “one bowl.”)
3 tsp of instant yeast (mom: “a dash of yeast.”)
2 tbsp of melted butter
Pinch of salt
Optional: add 40 grams of sugar to the dough if you want the bun to be extra sweet.
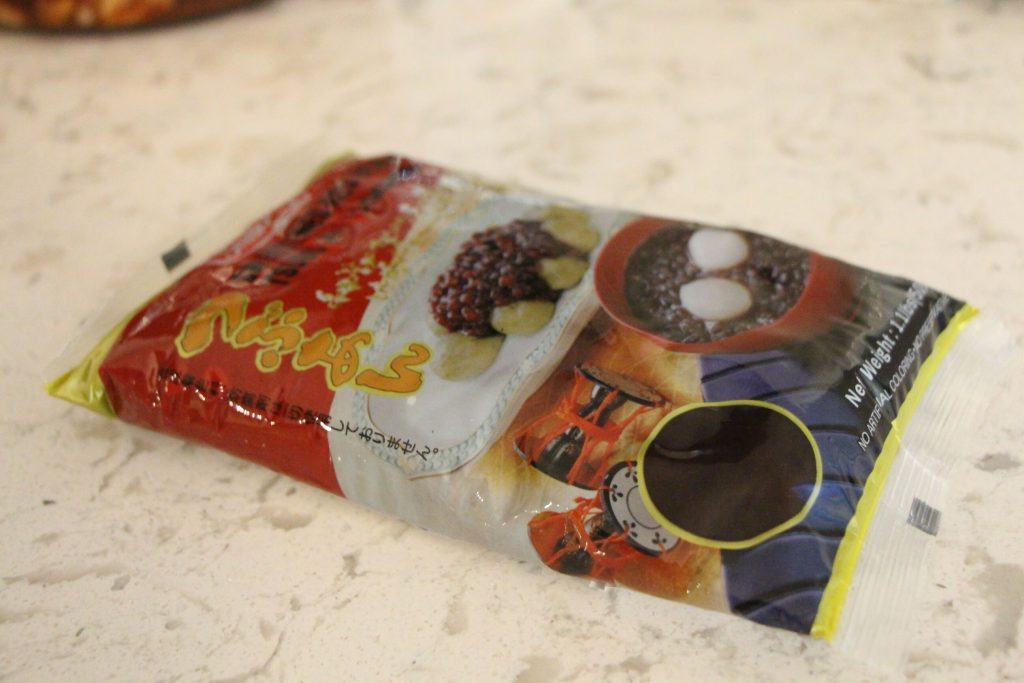
500 grams of store-bought red bean paste
Follow this recipe for homemade red bean paste, which will have a rougher texture and be slightly healthier!
Tip: Make this recipe vegan by using plant milk and vegetable oil instead of milk and butter!
Making the buns:
Dump everything other than the red bean paste into a large bowl. Make sure the milk is warm before adding it to the mixture (this helps activate the yeast.)
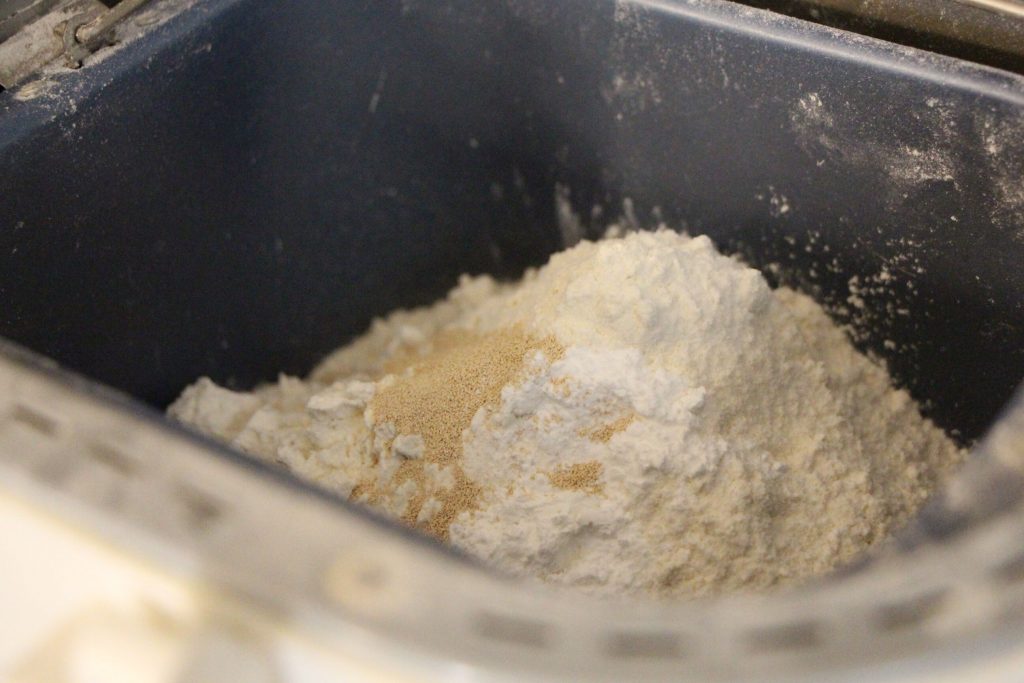
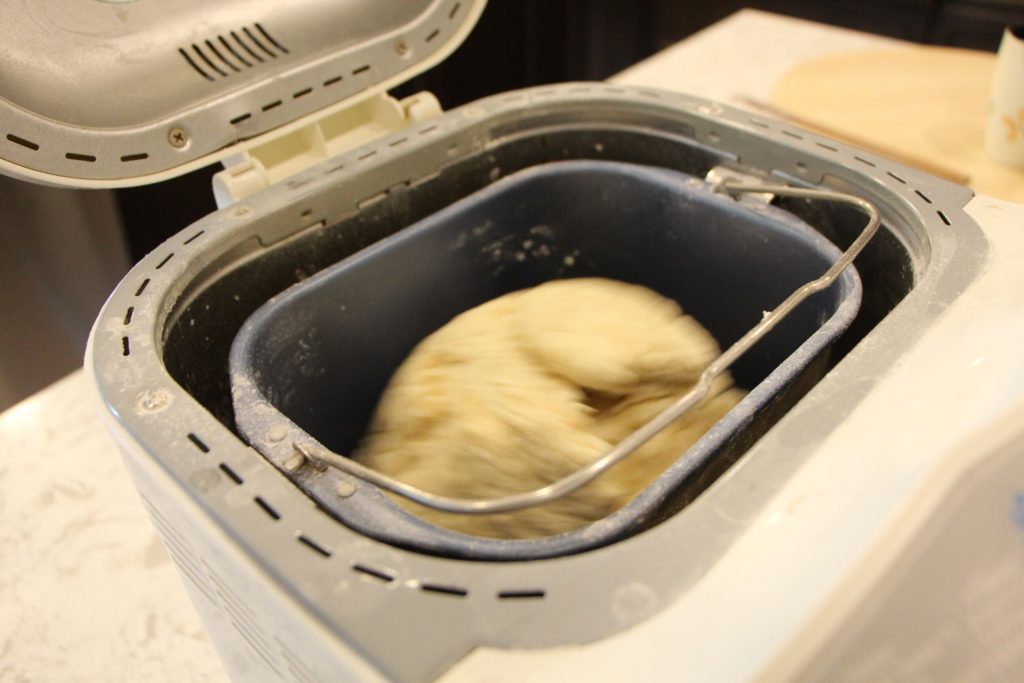
If the dough is still dry with cracks forming, add another dash of milk. Leave it to rise for two to three hours, making sure the dough is covered so that it doesn’t dry out.
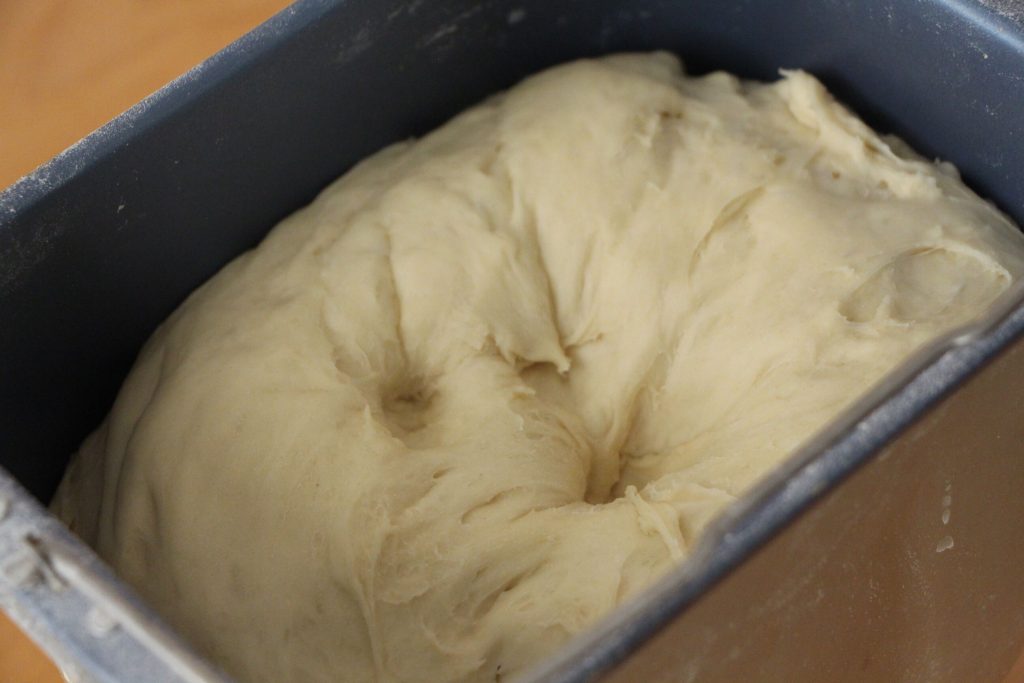
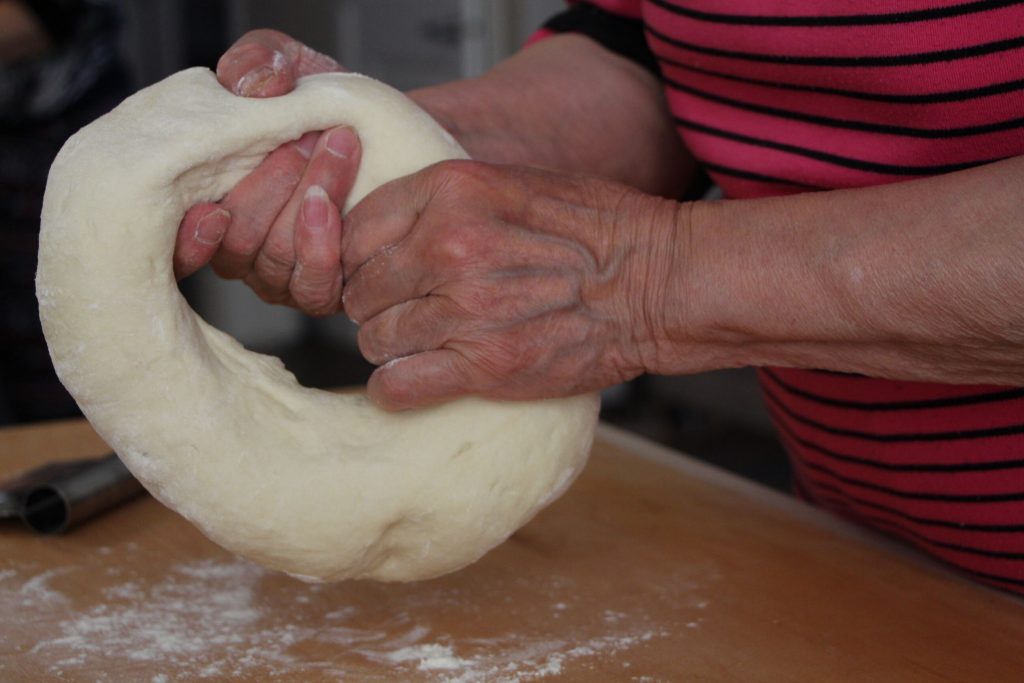
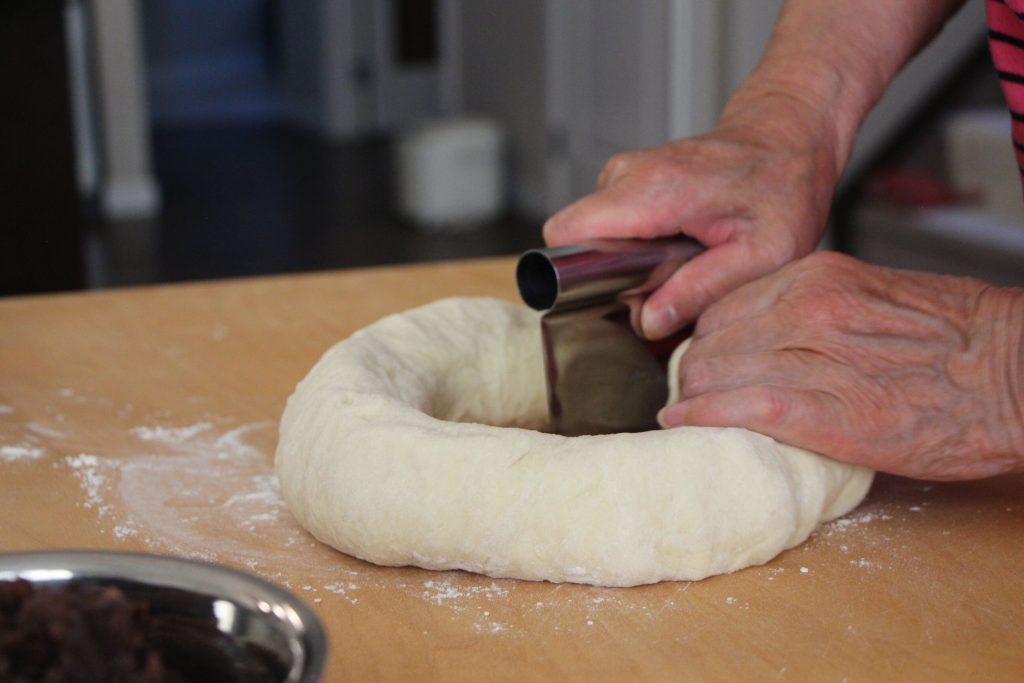
Flip the dough onto a thoroughly floured surface. Knead for one to two minutes to remove some of the excess air, then poke a hole through the middle. Gravity will do the work as you pass the ring of dough through your hands.
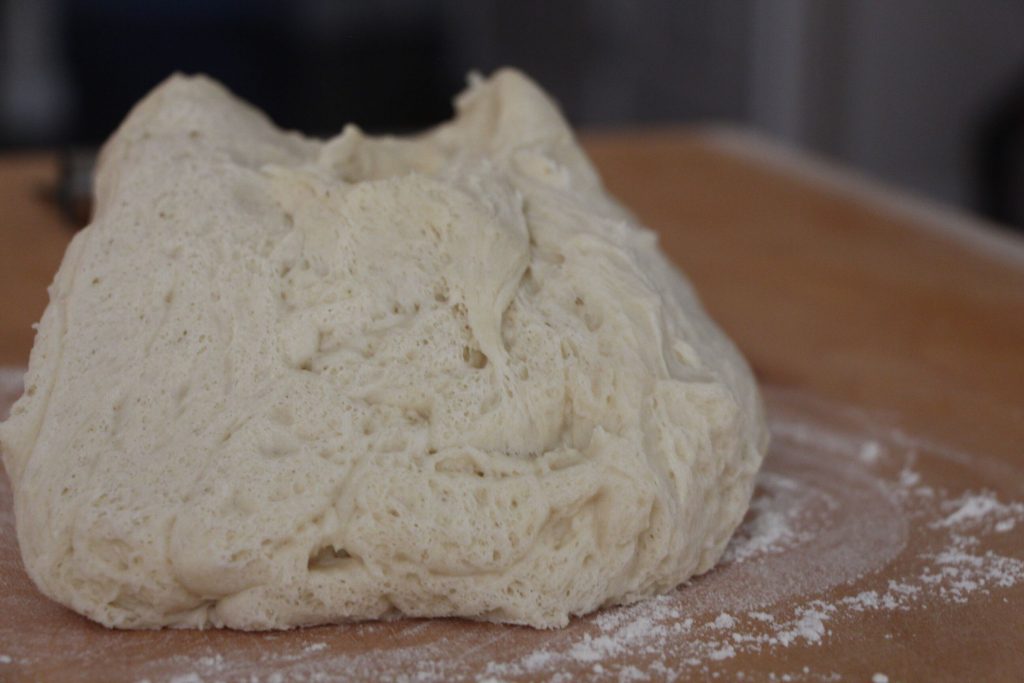
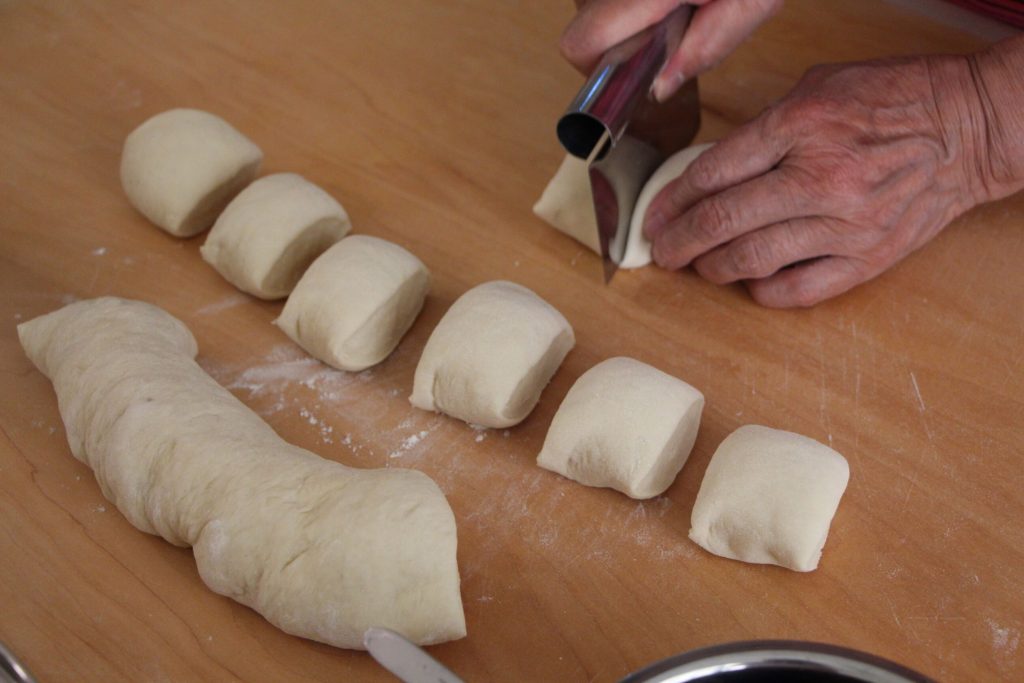
Section off the dough into 15-18 pieces and flatten them with your palm in preparation for rolling them out.
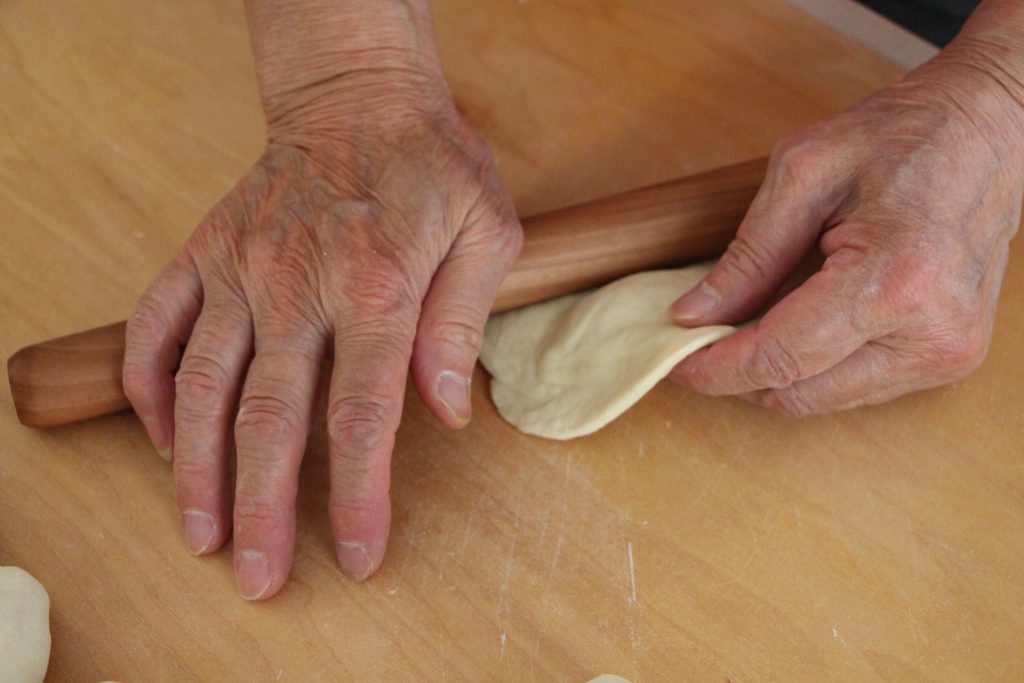
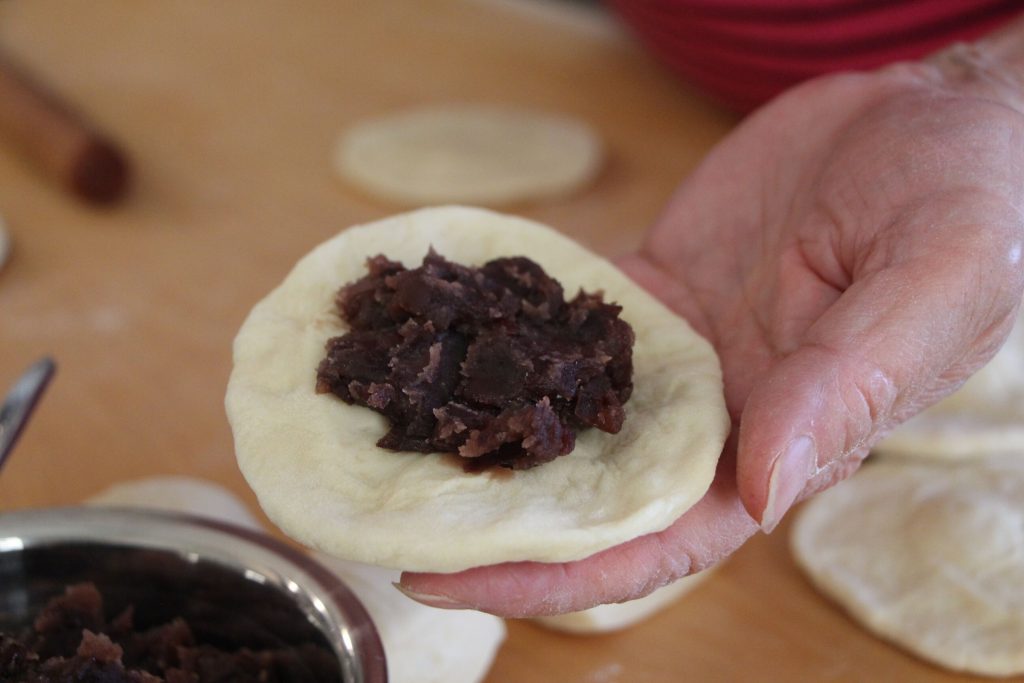
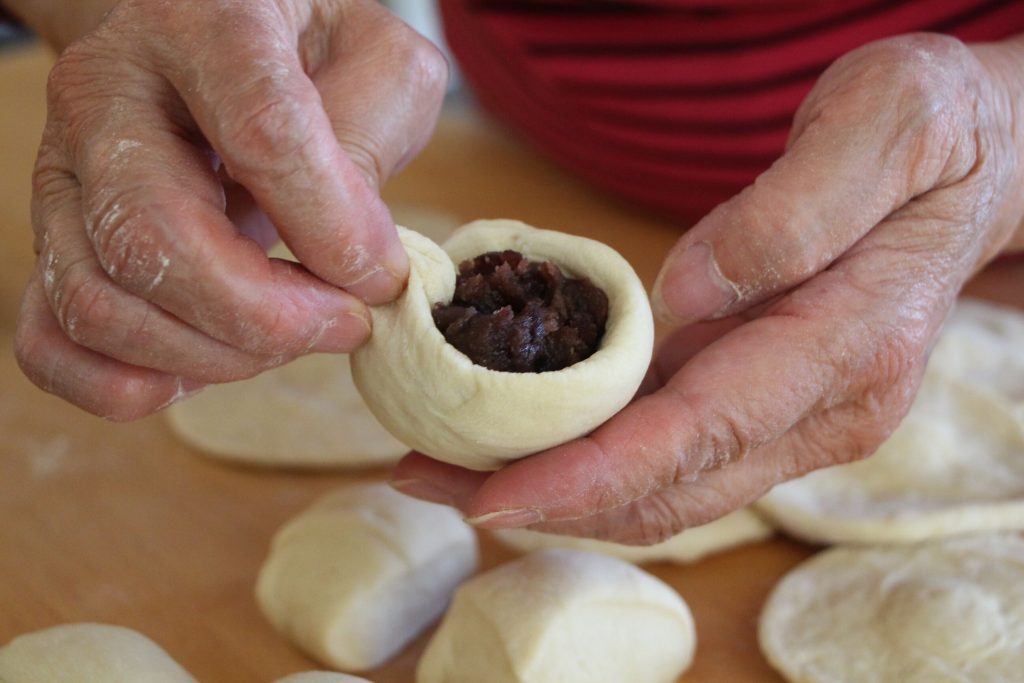
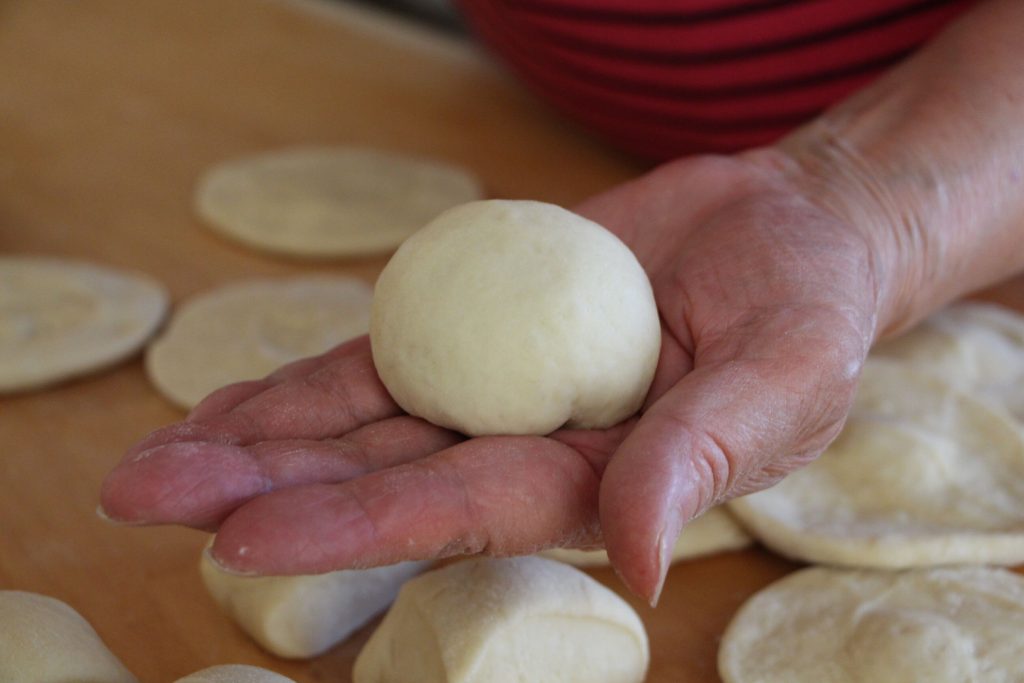
Fill the centre of each wrapper with red bean paste. Gently fold up the sides of the wrapper so that the filling is completely enclosed, then turn over the bun.
Cooking the buns:
Line your steamer pot with cheesecloth. Brush a bit of oil on the bottom of the buns and place them on the racks. This will make the buns easier to remove once they are finished cooking. If you don’t have a steamer, here are some options.
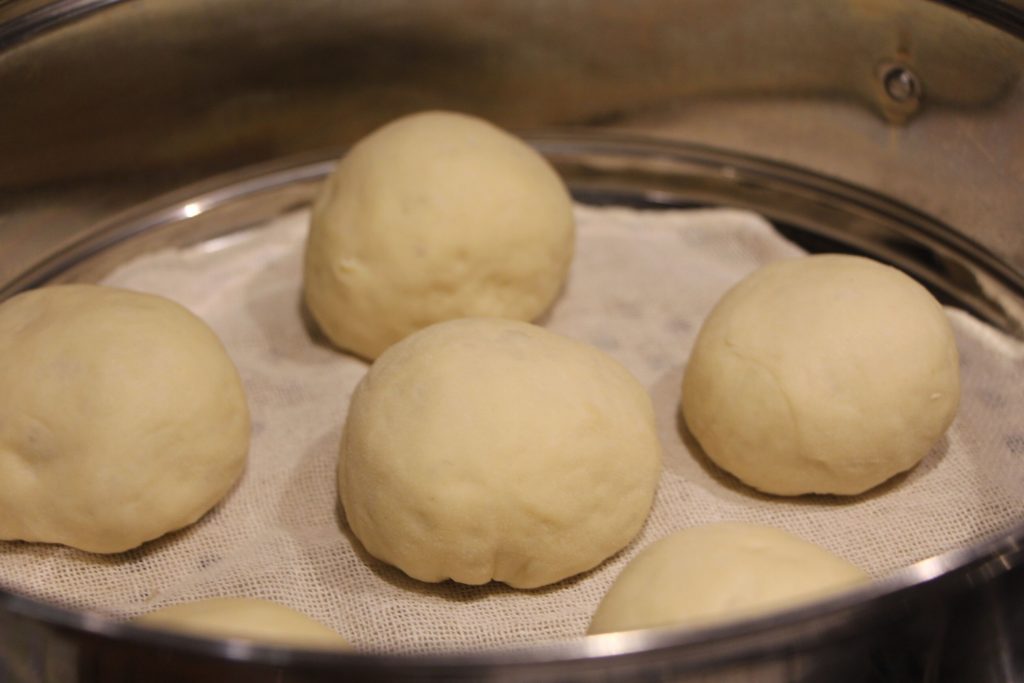
Let the buns rest for 30 minutes before cooking, making sure they’re covered. This will help the dough rise again and result in fluffier buns.
Fill your pot with water three-quarters of the way to touching the buns. Bring the heat to medium-high so that the water is gently simmering, but not boiling. Steam for 25-30 minutes.
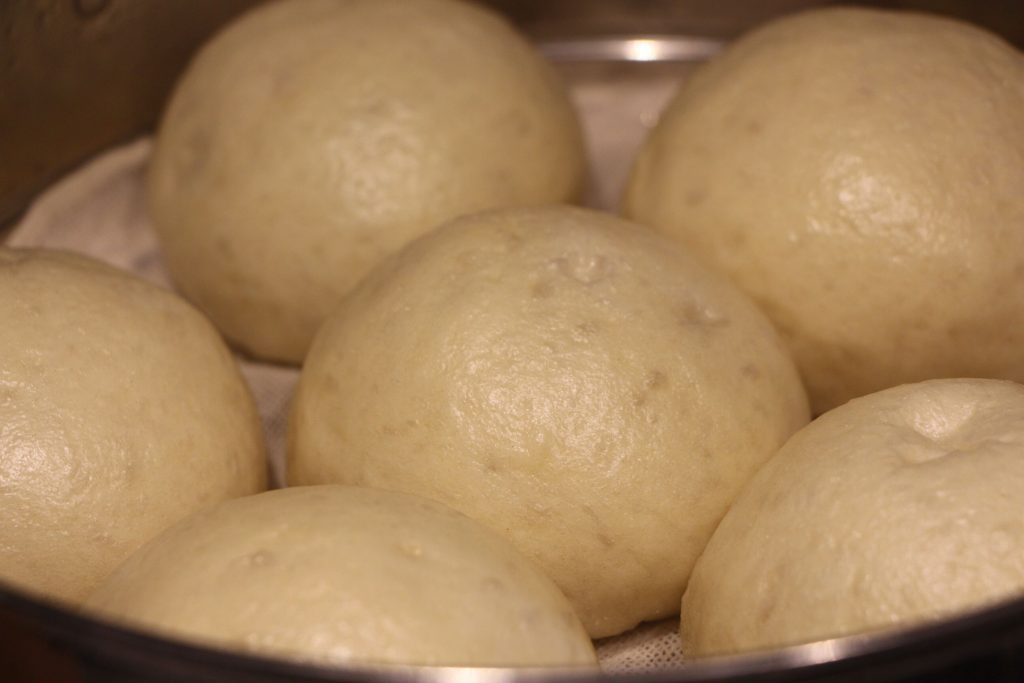
Eating the buns:
You can eat red bean buns as a snack, for dessert, or as a meal if you have a sweet tooth. I like to start by eating the ‘skin’ entirely before biting down on the fluffy, sweet bun and filling.
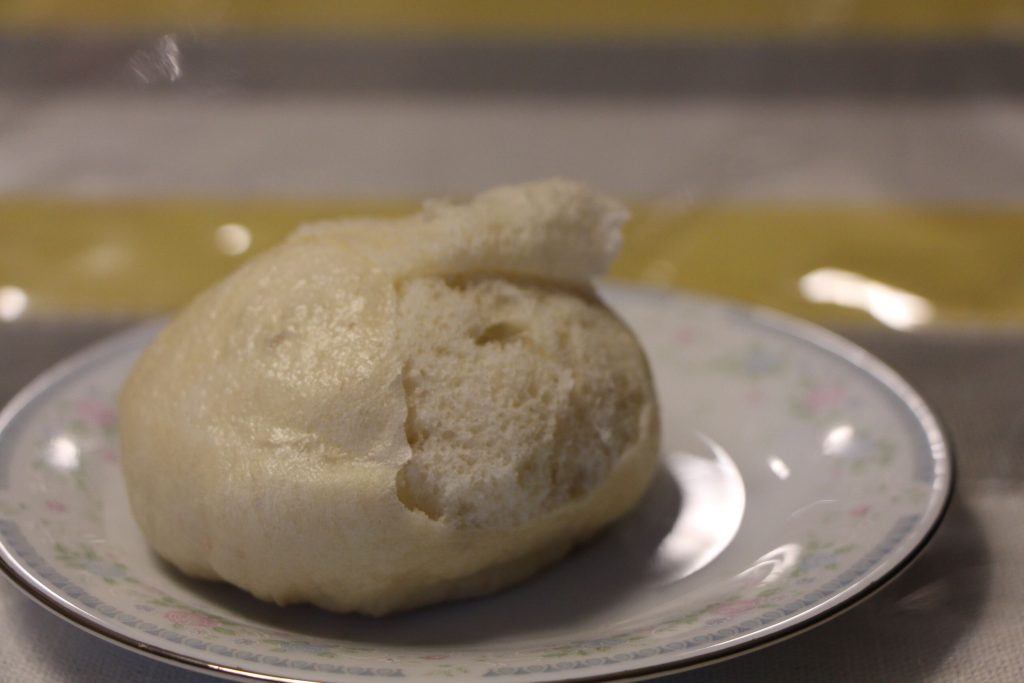
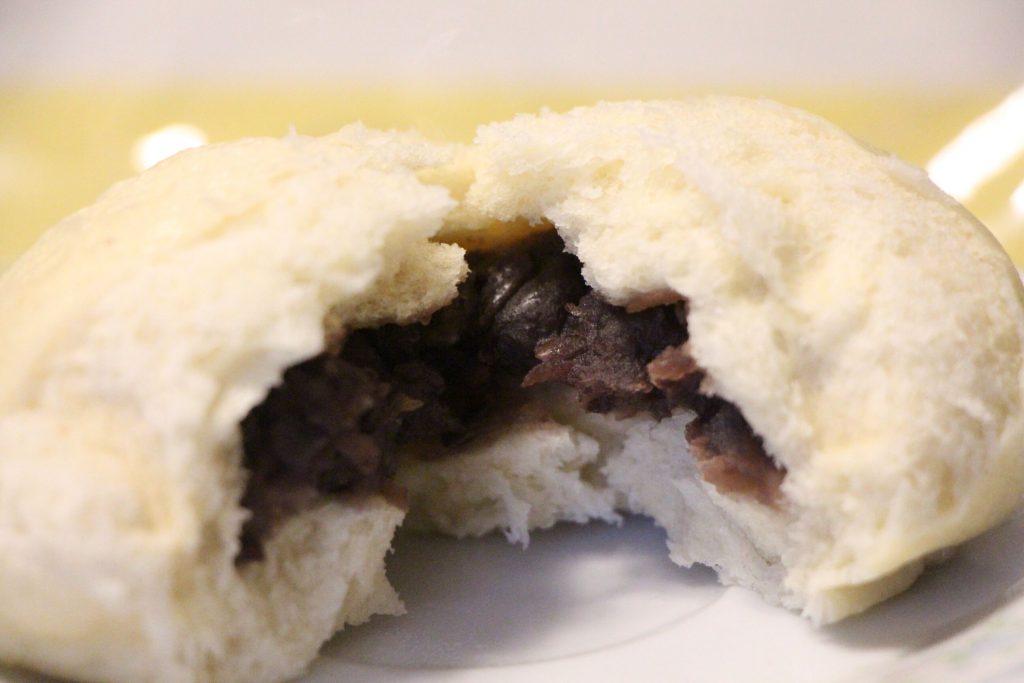
I hope you enjoyed reading about this recipe as much as I enjoyed making them with my family. Pick up some red bean paste the next time you’re at T&T Supermarket and try these out with some friends!


