 Malcolm Stielow
The skills I am about to teach you can be dangerous and may result in bodily harm. Over my many years of study and practice, I have found countless ways to hurt myself, and all of them were because I was being careless. In order to prevent injury, wear any protective gear that you feel is necessary to practice these skills safely. I recommend you always have protective eyewear, an apron or shop coat, long sleeve shirt, full-length pants, and closed toed shoes. Safety comes first. I can’t stress that enough.
Editor’s Note: Malcolm Stielow is a designer metalsmith by trade, and this article is meant to show you a basic set of traditional goldsmithing techniques that you can practice at home.
Now that’s all that’s out of the way, the fun part.
What you’ll need:
- Pipe — Steel, iron, brass, titanium, copper, even PVC can work. Doesn’t matter to me if it doesn’t matter to you. I prefer thick-walled pipe so that you have more material to work with. ($10, tops. Because you can’t usually buy four millimetres of pipe)
Note: You can use any shape of pipe too. Square pipe can make an excellent ring. - Something to cut the pipe — I use a hacksaw ($12)
- A file — A half-round cross cut needle file is all you need. Needle files usually come as a set (around $15)
- Something to sand with — Paint sticks wrapped with emery or sandpaper is good enough. Heck, a manicure set is good enough. ($2)
- A pencil for marking the metal — The tip of your needle file can work too. Or almost anything sharp.
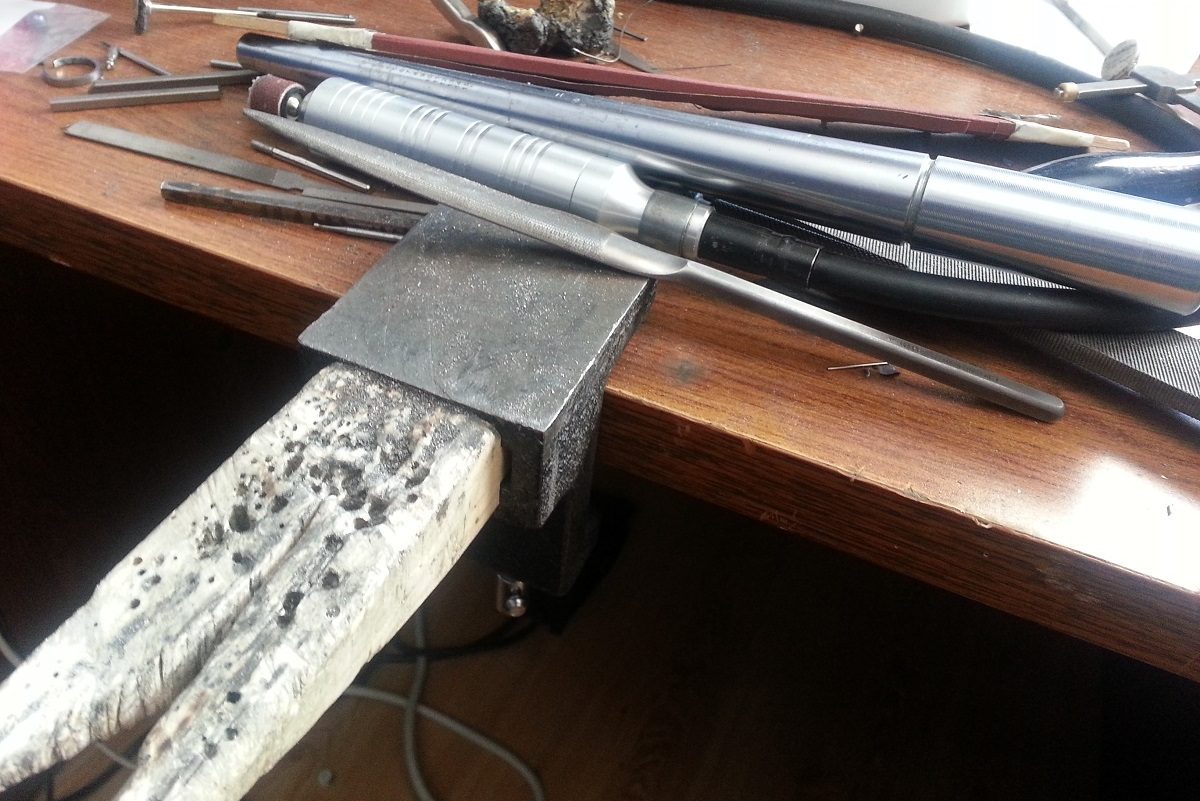
Quite typically, this would be the assortment of tools that I would use to make a ring. Here, you see a Foredom flexshaft tool with attachments, emery paper boards, a ring mandrel, a bench anvil and bench pin combo, and an mix of rather expensive files.
There’s probably $500-600 worth of stuff here, and you don’t need all of it. I’m just showing you this, one, so you can see that these skills can be scaled up and down, but mainly because of that v-shaped chunk of wood. That’s called a bench pin. If you can buy or make one, it will make this project much easier because you can brace the ring against it while filing and sanding. It doesn’t sound important, but believe me, it will save your fingers.
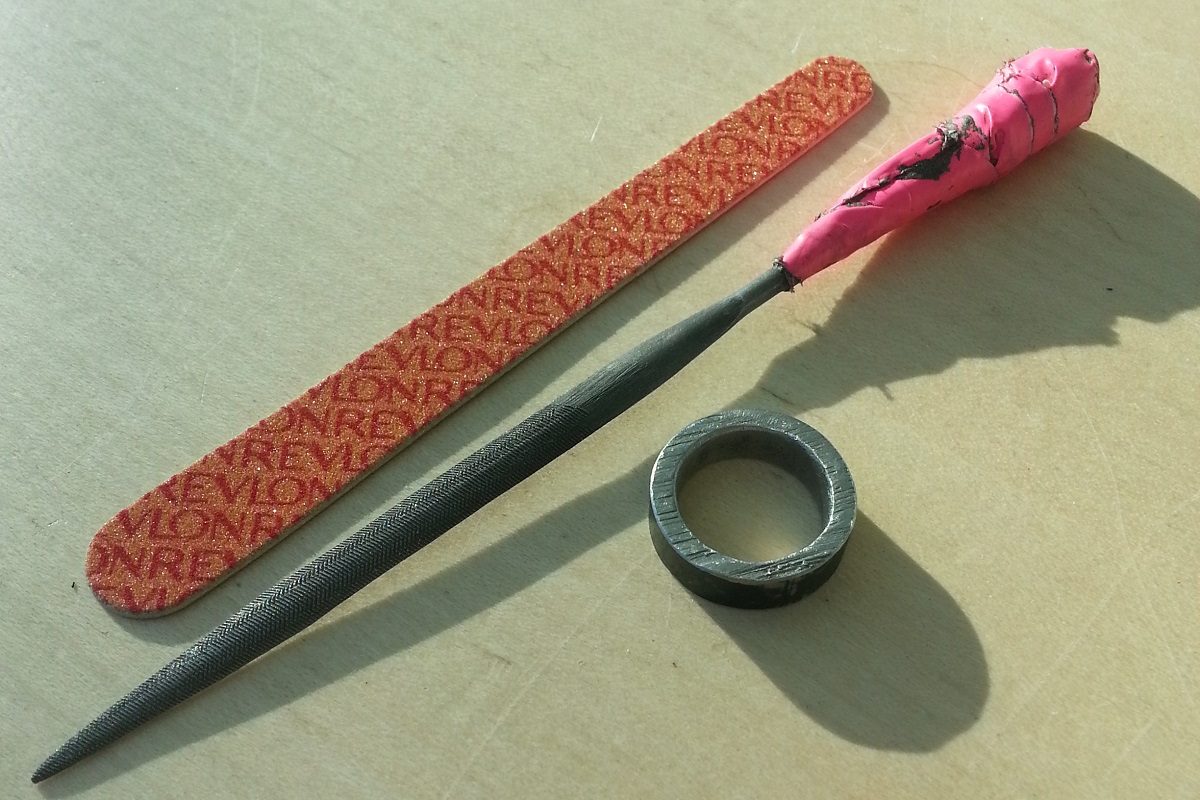
This is everything I used for this particular project. Needle file, wrapped in duct tape for comfort and visibility. Emery board, which is actually a manicure thingy that I bought from Submart. And last, a chunk of iron pipe.


I have the luxury of having a vice in my shop to cut my pipe. It’s pretty important that you find a way to hold anything you are cutting stable — sometimes that means c-clamping it to a table, sometimes that means getting a friend to hold it while you cut. Make it stable though, because hacksaw injuries are surprisingly common.
Lock your metal in place, then mark your pipe to the desired width of your ring with a pencil or a sharp piece of metal. Cut on the side of the line that is scrap metal, not the ring (this will give you a little extra room when you’re filing).
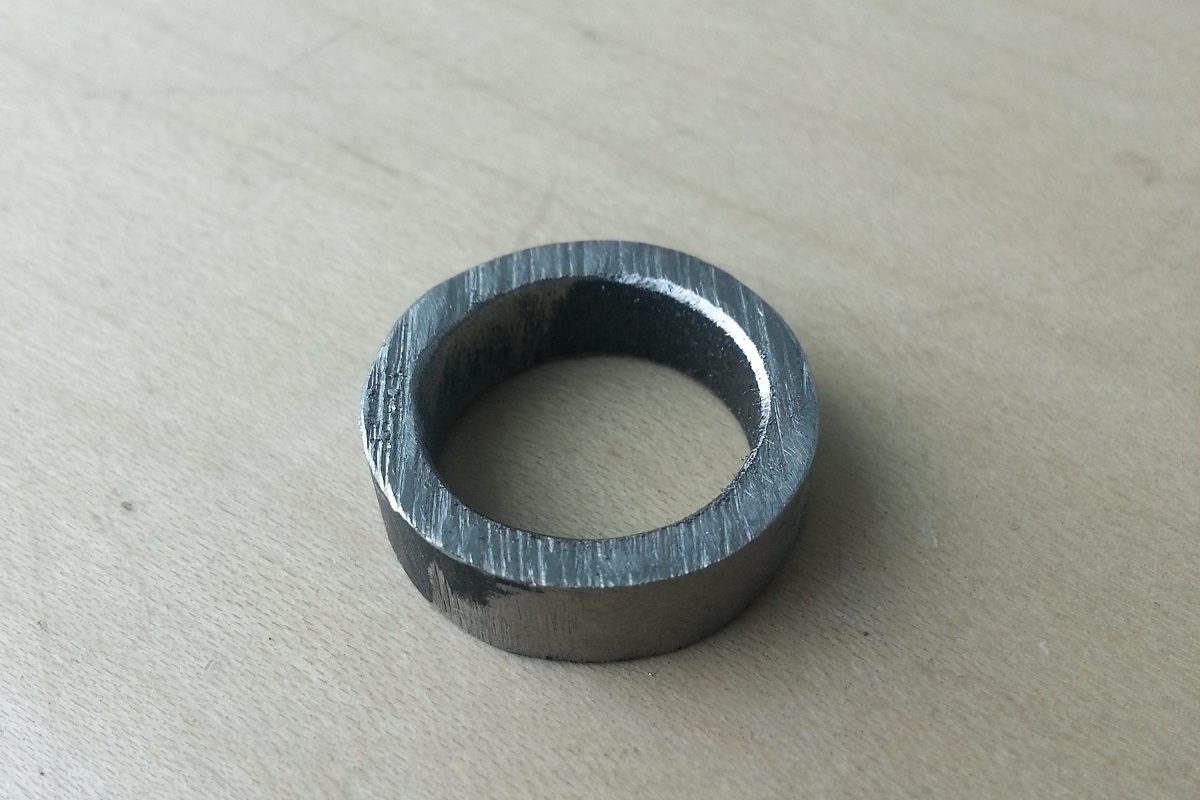
Cut all the way through, and voila! You have a ring blank.
SAFETY WARNING: Do NOT put the ring blank on your finger. Do not ever, EVER, under any circumstances, try on an unfinished ring. You can deglove your finger. Yes, it’s as bad as it sounds. If you don’t believe me, and you aren’t squeamish, Google it.
Now that you have a ring blank, take your out your files and start cleaning it up. To show you how easy this really is, I did everything from this point on in a seating area of SUB, right here on campus. If you do choose to do this in a public place, make sure you clean up after yourself — you’re going to be making a bit of a mess.
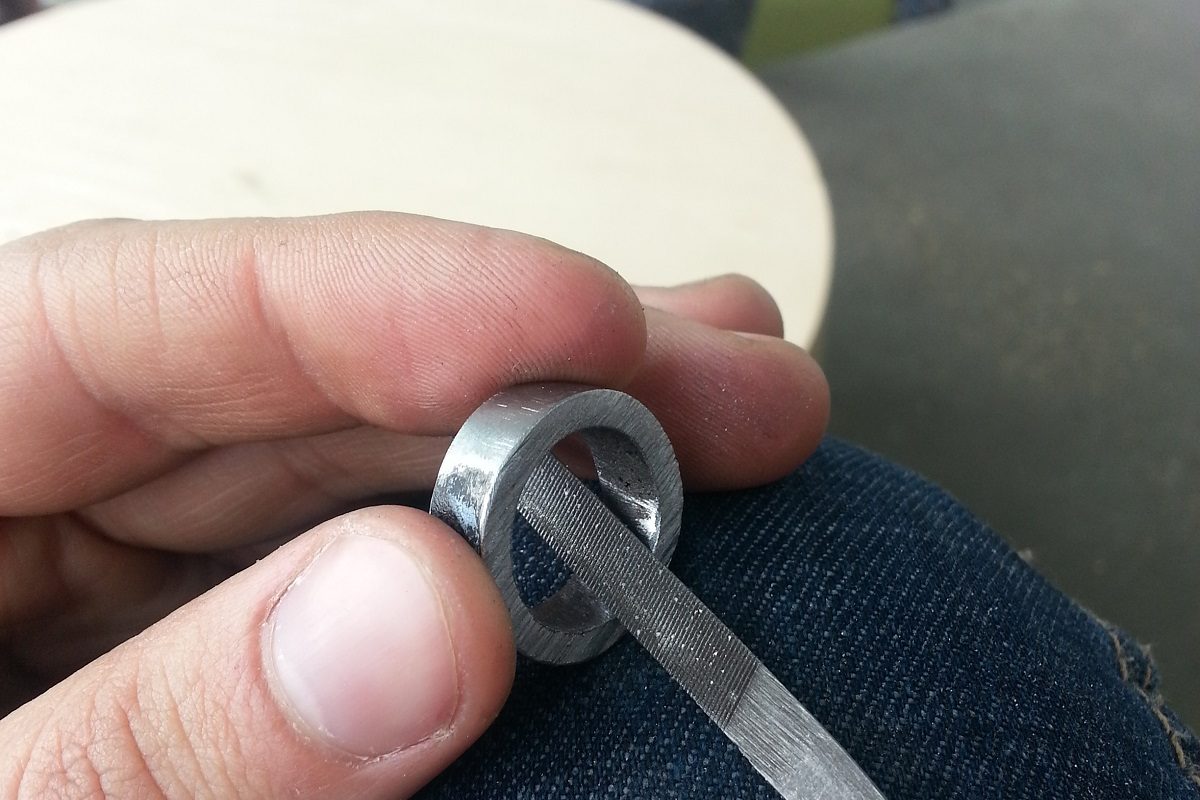
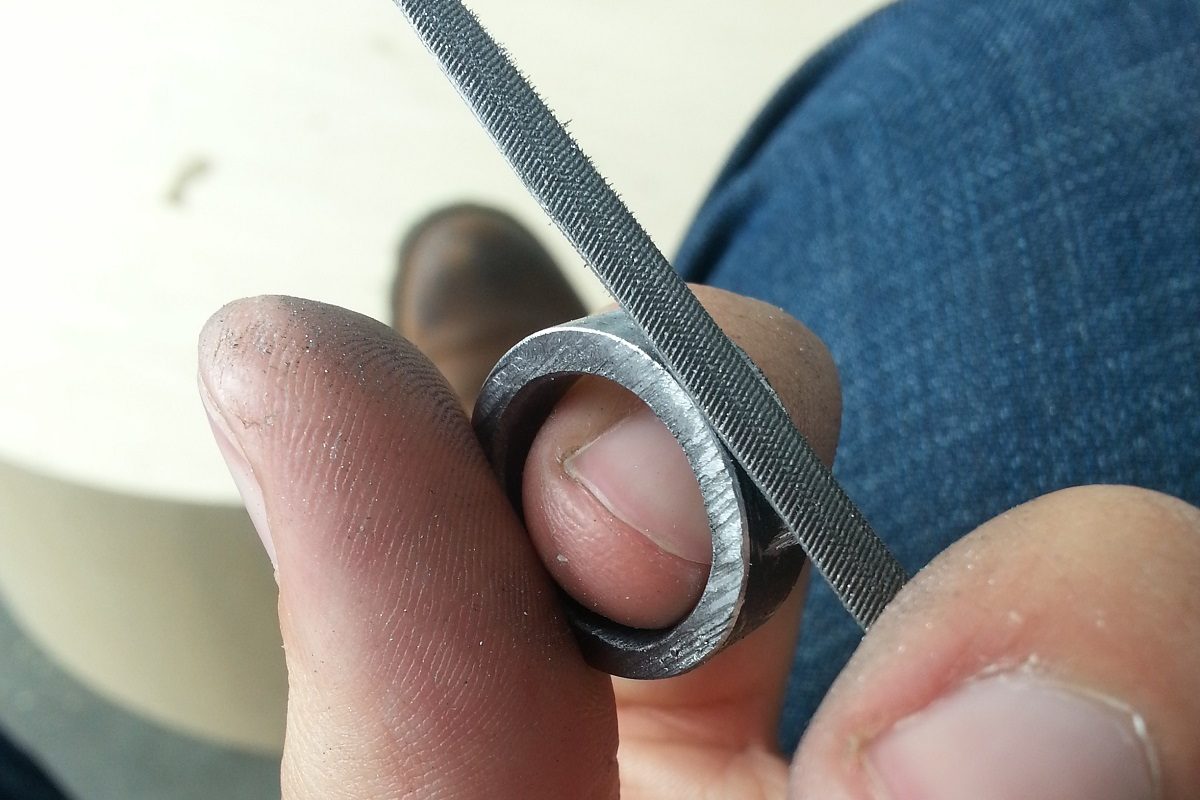
File the inside edge with the rounded side of your half round file. A 45° angle is good, though you may also choose to round it off, it really depends what look you are going for. It you aren’t using a bench pin, try to rest the ring on a solid surface. In this case, I was using my knee.
You can see in this picture above the difference between an unfinished edge, and one with a 45° angle.
Finish both inside edges, and the inside surface, running your fingertip across them periodically to ensure they are not sharp.
Edges done? Inside surface done? Are you SUPER SURE they aren’t sharp? Good. You may now try on your ring.
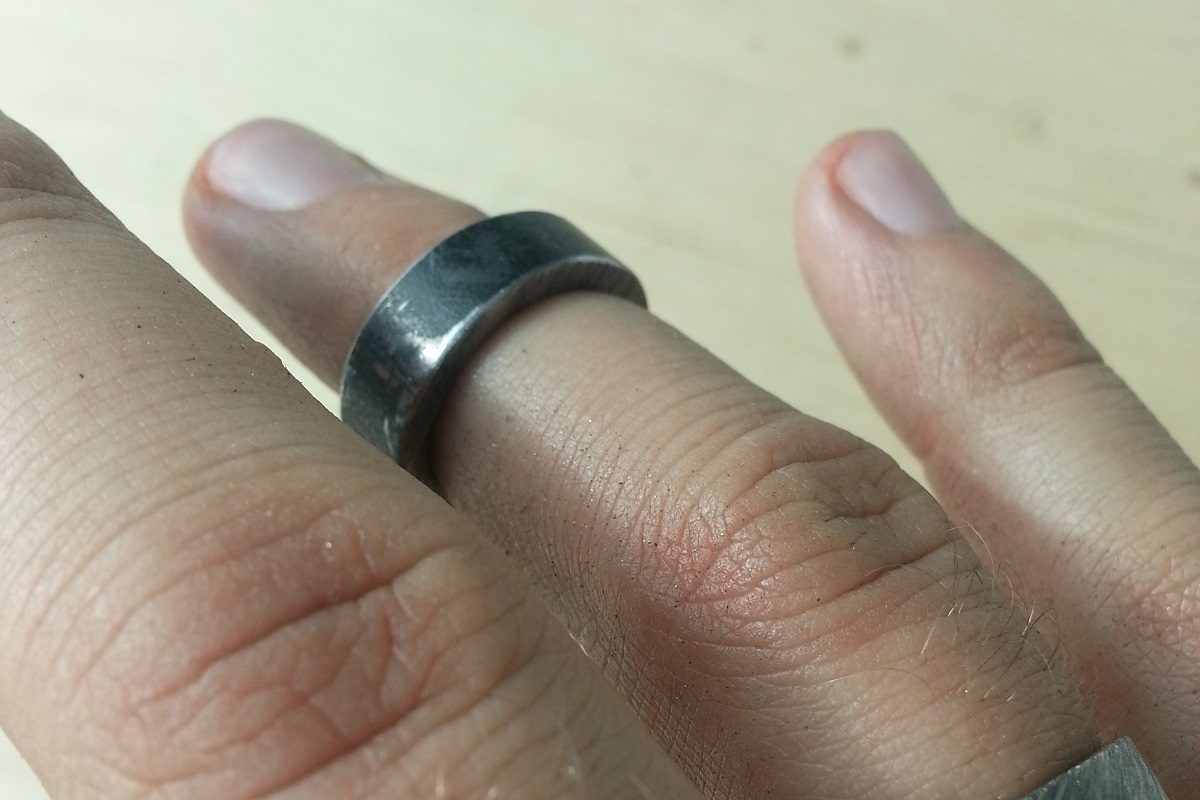
Clearly, this one was too small for me, but you get the picture.
Don’t force a ring on, because they are always tougher to get off than they are to get on. If you’re happy with the fit, then you can just take the ring off and start on the outside of the ring, but if the ring is too tight, you’ll need to remove more metal from the inside surface. Use the round side of your file for this still. Once you have removed enough material, check that your edges are safe again, and try it on. (Just a note, you’ll want to start with a ring that’s too small and slowly remove material to make it fit. If the ring is too big, start over or make it for another finger, because you can’t put metal back once it’s gone.)
Now that the inside is done, you can choose to move onto the outside — that’s where the creativity can really start to come into play. Of course, you can always finish your outside edges and call your ring done. Congratulations.
Elapsed time: about 20 minutes
Not enough for you? Want to design the outside as well? Okay, let’s get creative.
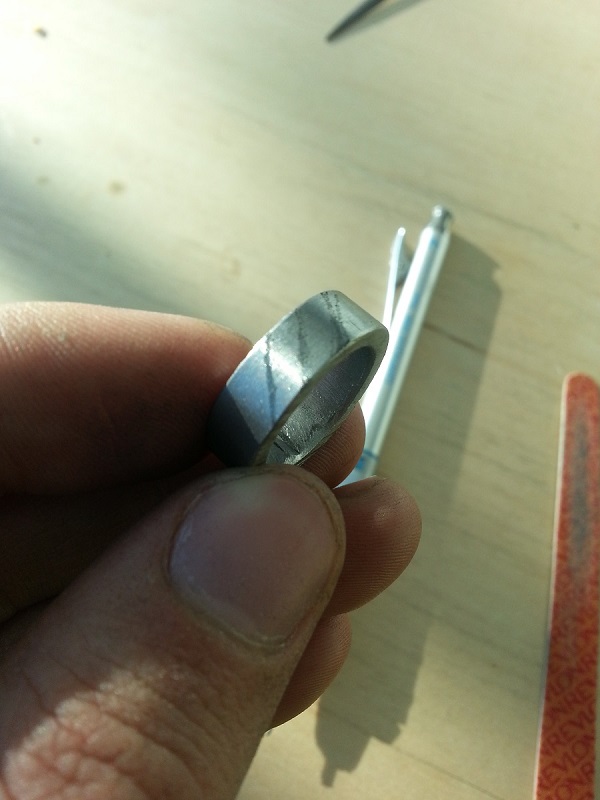
You can simply file along the surface with the flat of your file to clean it and give it a smooth surface. You can sand for an extra fine finish.
Again, done.
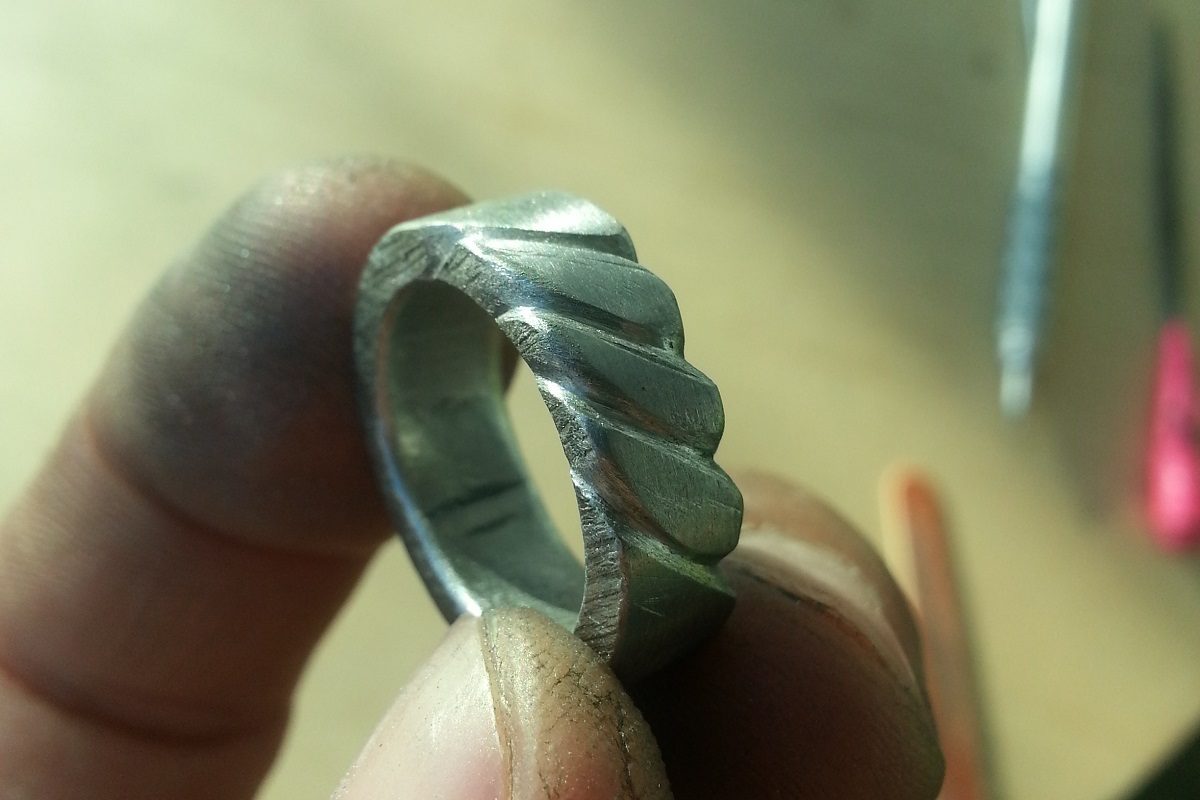
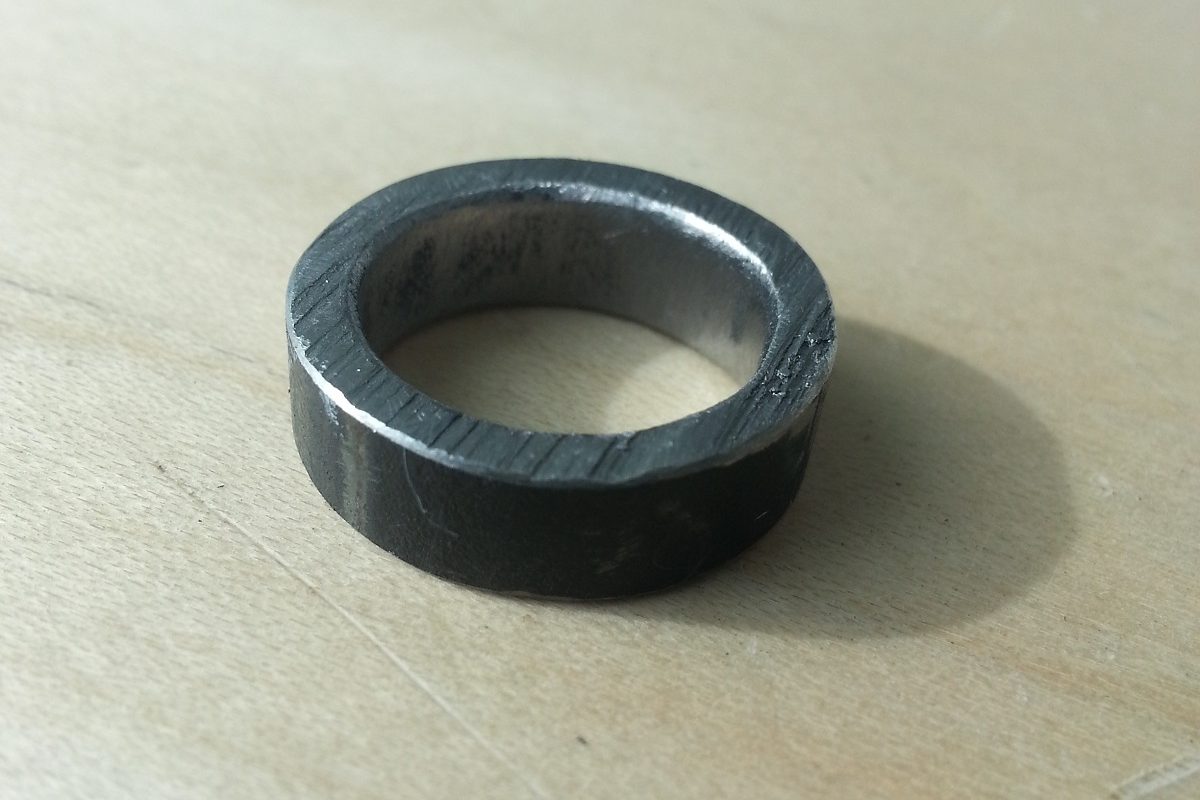
No? Still want more? Then maybe you’re up for a challenge, like a traditional rope texture.


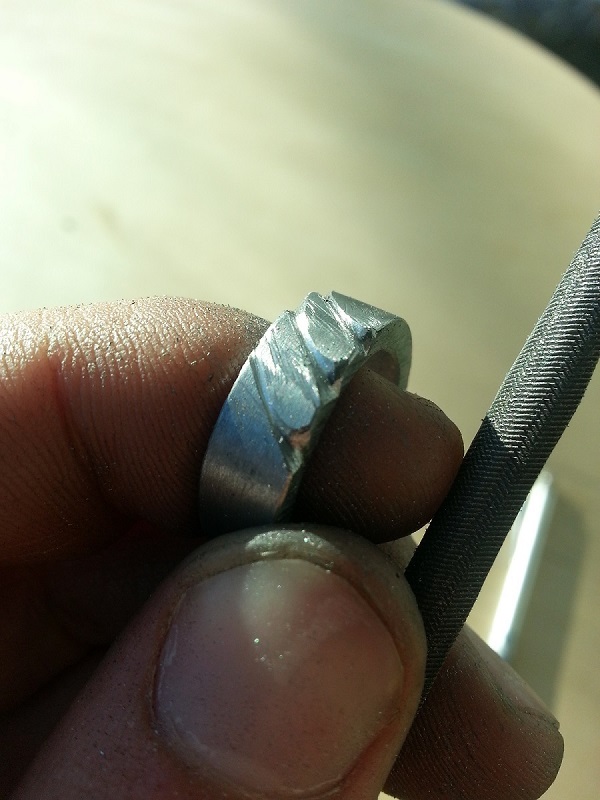

Mark diagonal and evenly spaced lines with a pencil. Then, with the sharp edge of your file, flat side facing the ring, cut grooves along those lines. It helps to start by cutting the edges first, and then rocking the file over to the other edge.
Just continue this rocking motion over and over again, digging in with the edge of your file. The more you cut, the more it will look like rope.
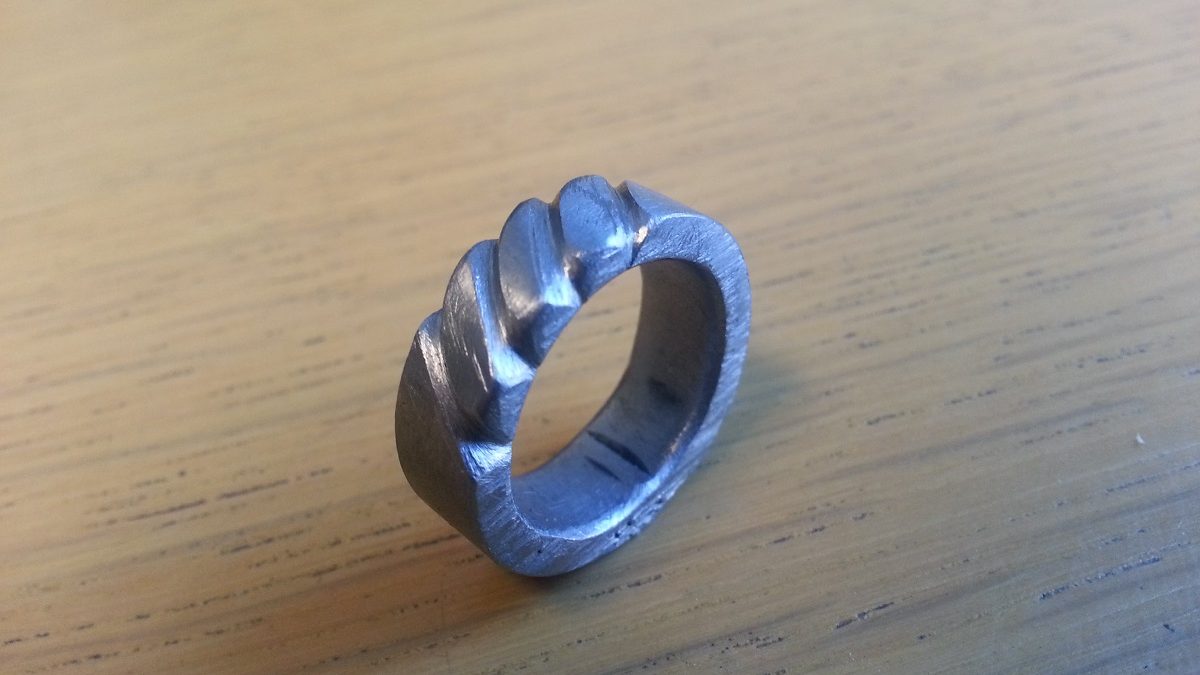
And that’s all there is to it. Eventually, it will look like rope, especially if you go all the way around the ring. Remember, after you’re done making any changes, always check your edges to ensure that they aren’t going to hurt you when you put the ring on.
There’s literally thousands of possible textures and finishes for rings, so get creative. Questions? I’d be happy to help. Have fun and find me on www.malcolmstielow.com