 Ab Sch
It’s the second month of classes, and you probably already wish you had taken this semester off to mess around and maybe travel. Unfortunately for you, you were an eager beaver last week so the semester has already been paid for. Fortunately though, there are fun — yet kind of repetitive — tasks to do to kill your time instead of studying, like painting your nails! There is nothing quite like waiting around for an hour while your nails dry to avoid the readings your prof assigned pre-midterm crunch.
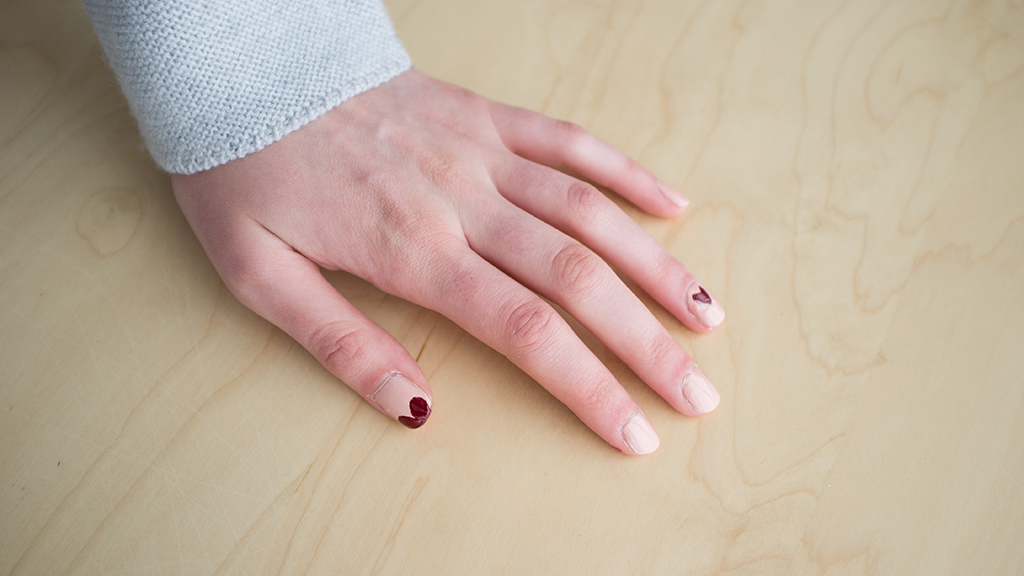
Why not couple your avoidance of school with some slight Valentine’s Day prep and make your nails look like cute little hearts? Your nails will be adorable and it’s girlie things like this that make you feel like Wonder Woman in your own right, because nail art can be really difficult — especially once you have to start painting with your non-dominant hand.
You’ll need:
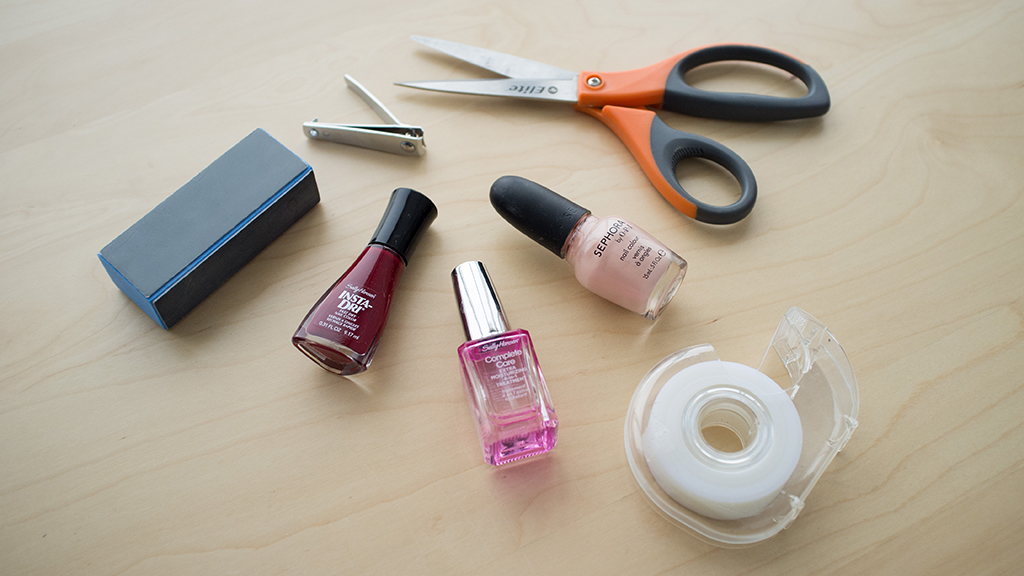
- Two different colours of nail polish. One for the base, the second for your <3
- Clear top coat
- Scotch tape
- Nail file, or any other tool to manicure your nails to achieve your desired shape.
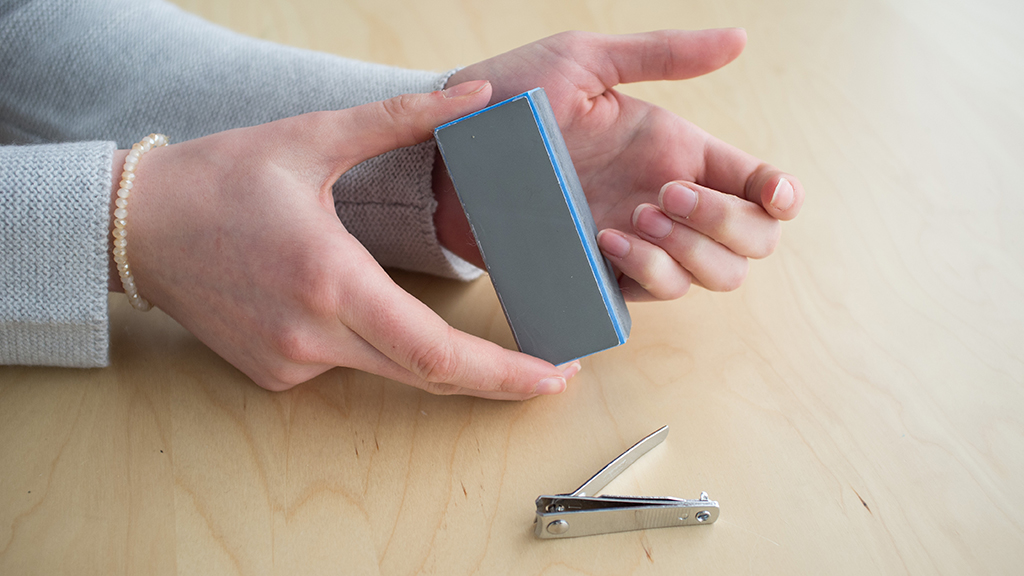
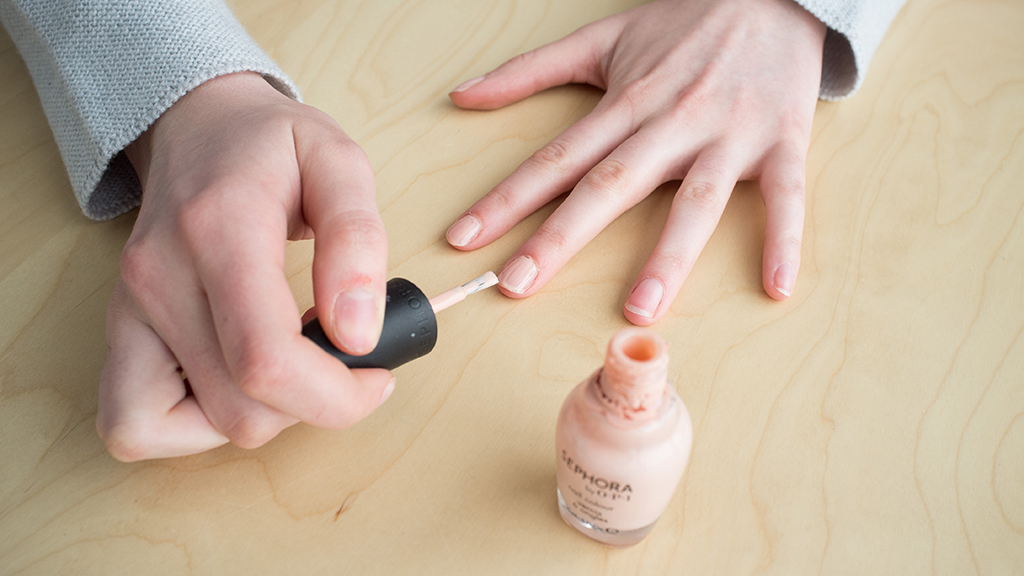
Step 1: Manicure your nails. This is the monotonous part, but if you’re going to put in the effort for fancy nail art you have to start with a nice base. Wash your hands, moisturize and clean up your cuticles. Push them nail beds way back baby, it’ll make the manicure look good in the end.
Step 2: Begin with your first colour. Once you’re done however many coats you need to make the base opaque, you’re going to want to let it more than adequately dry, or else your base colour may peel after you remove the scotch tape. Take the time to reflect on how beautiful your nails will be.
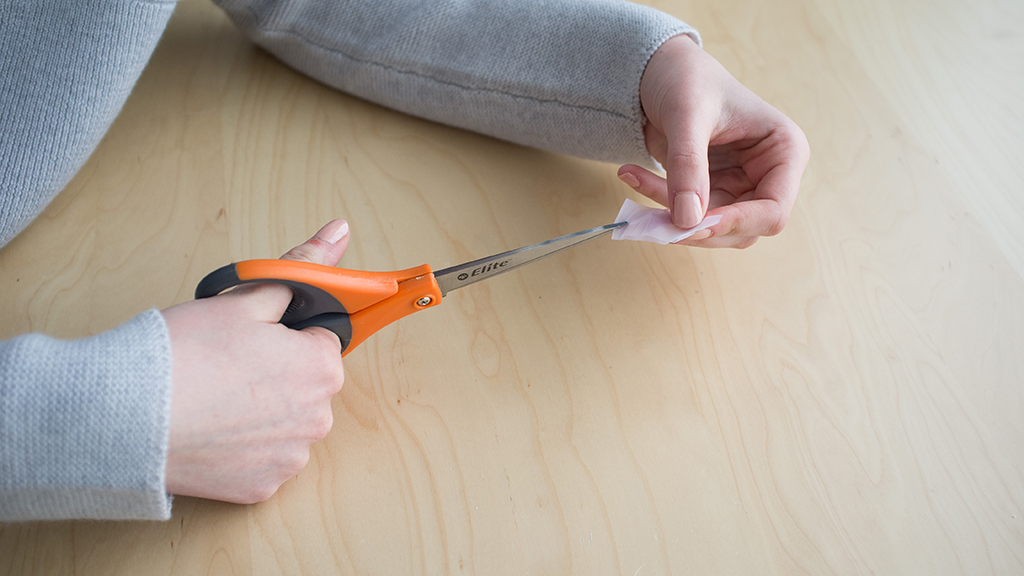
Step 3: Create your stencil. Rip off a piece of scotch tape and fold it in half. Not too tightly shut or else you won’t be able to open it again. Cut half a heart in the crease, this will be your shape. It’s the same method you used making paper snowflakes as a child.
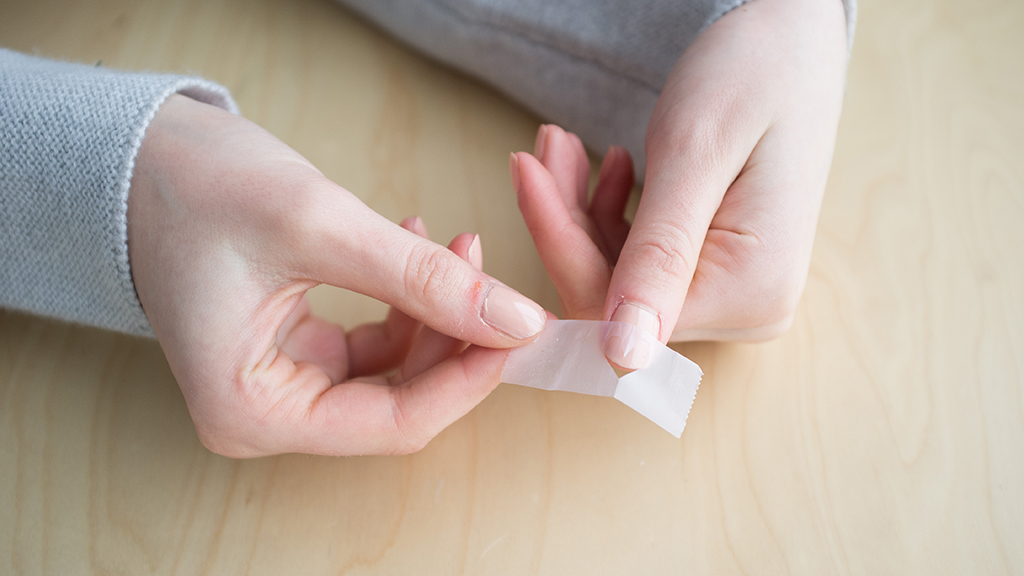
Step 4: Carefully place your stencil on you index finger with the point of the heart facing away from your palm. Make sure it’s even so your nails will be as fabulous as you are.
Step 5: Lightly begin to paint within the stencil using your second colour. Be careful not to let the colour bleed outside of the stencil, or else the heart will look more like a blob than something romantic.
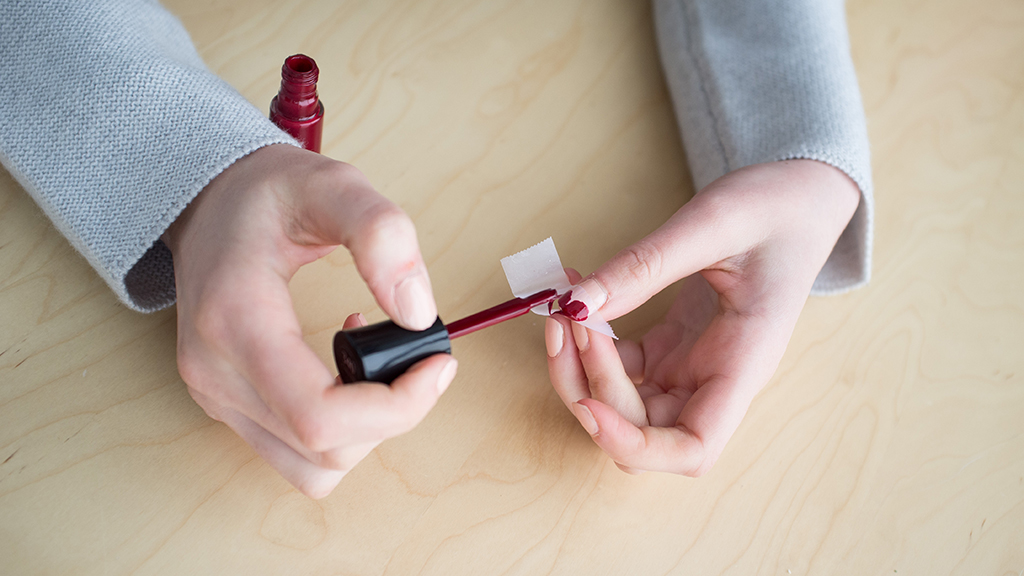
Step 6: While the paint is still wet, remove the stencil carefully. You can use the stencil on as many fingers as you want, or you could try a heart French tip by applying the stencil closer to your fingertips, with the point of the heart off the nail entirely.
Step 7: Allow the heart to dry and apply a topcoat. With nail art, it’s a good idea to apply multiple topcoats to fully seal your design, and to add shine.
Now you can enjoy a solid three to four days before your hours of hard work begin to chip away!